This is a guide on how to set up SIP credentials in Bitrix 24 CRM in order to place and receive calls.

- Click on Users on the left
- Click on the Devices box for the user
- Click on + Device
- Click on Softphone

- You’ll be using the SIP user name SIP Password and Realm information, along with http://proxy-west.virtualpbx.net to enter into the Cloud PBX.
- Make sure to click on Create Device, and then Save changes on the user.

- In Bitrix 24 navigate to Telephony and click on Cloud PBX.

- Click on Connect Cloud PBX in the upper right and fill in the following fields.
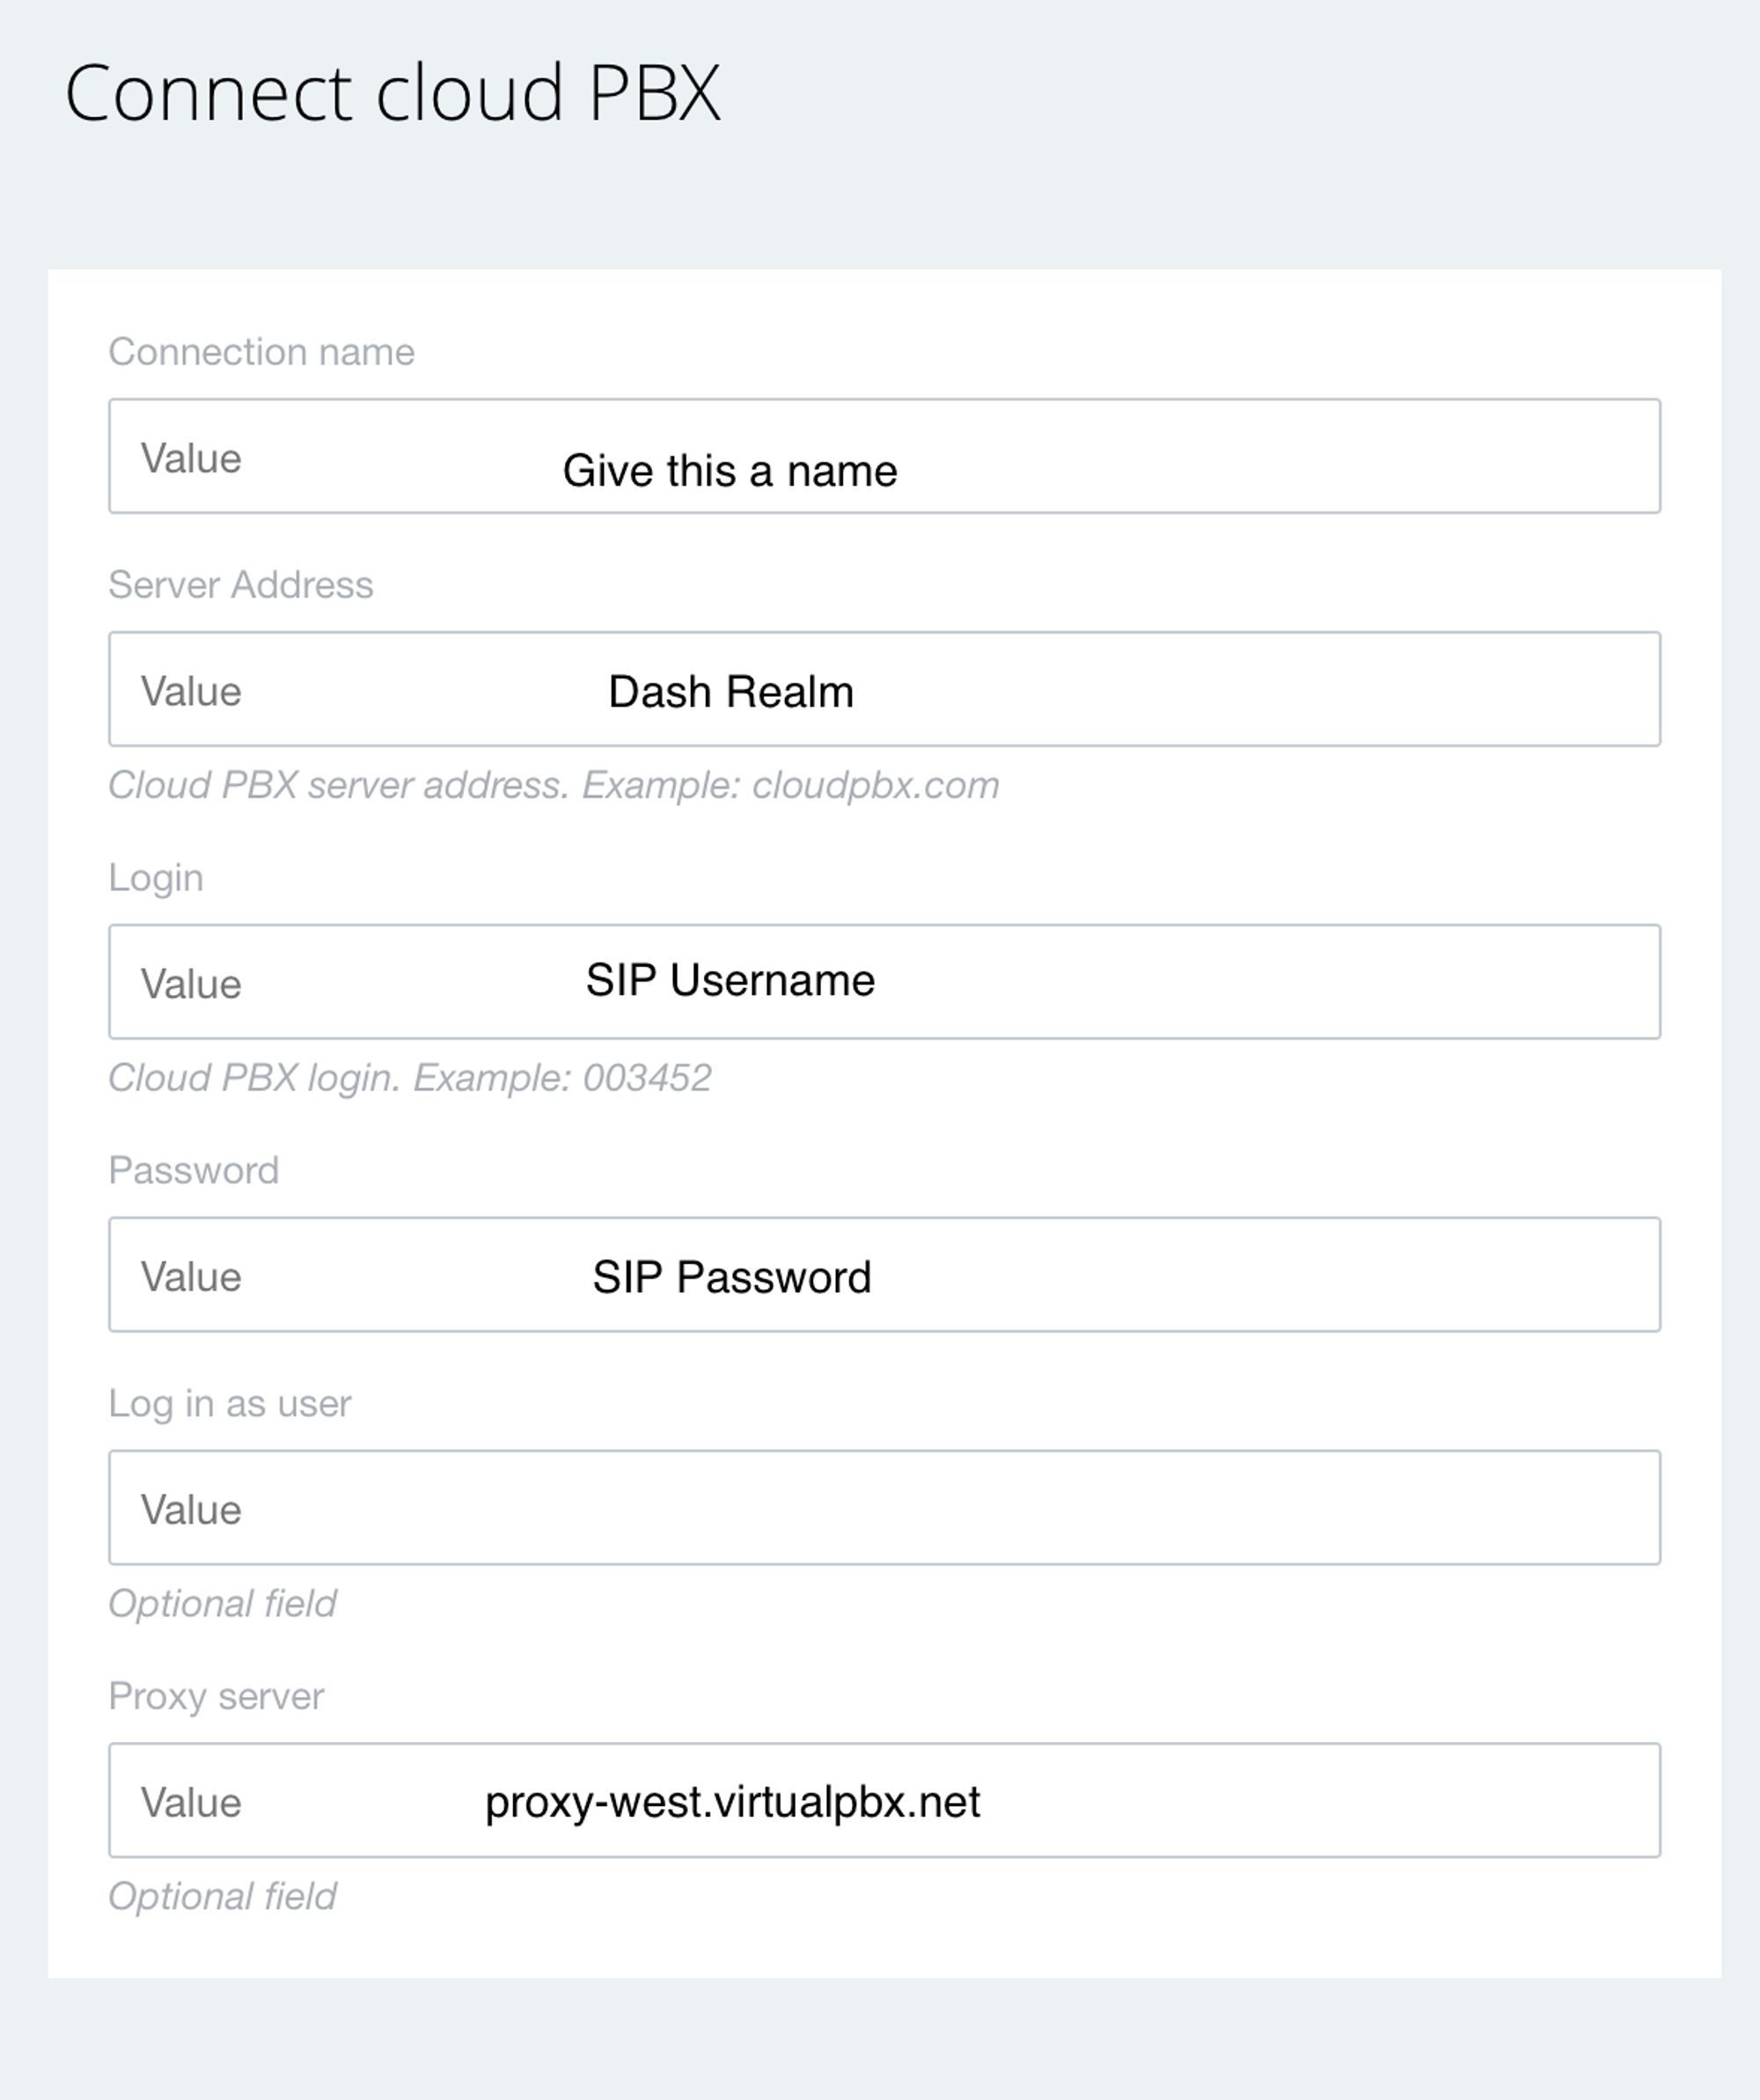
- Once this is done click Save.

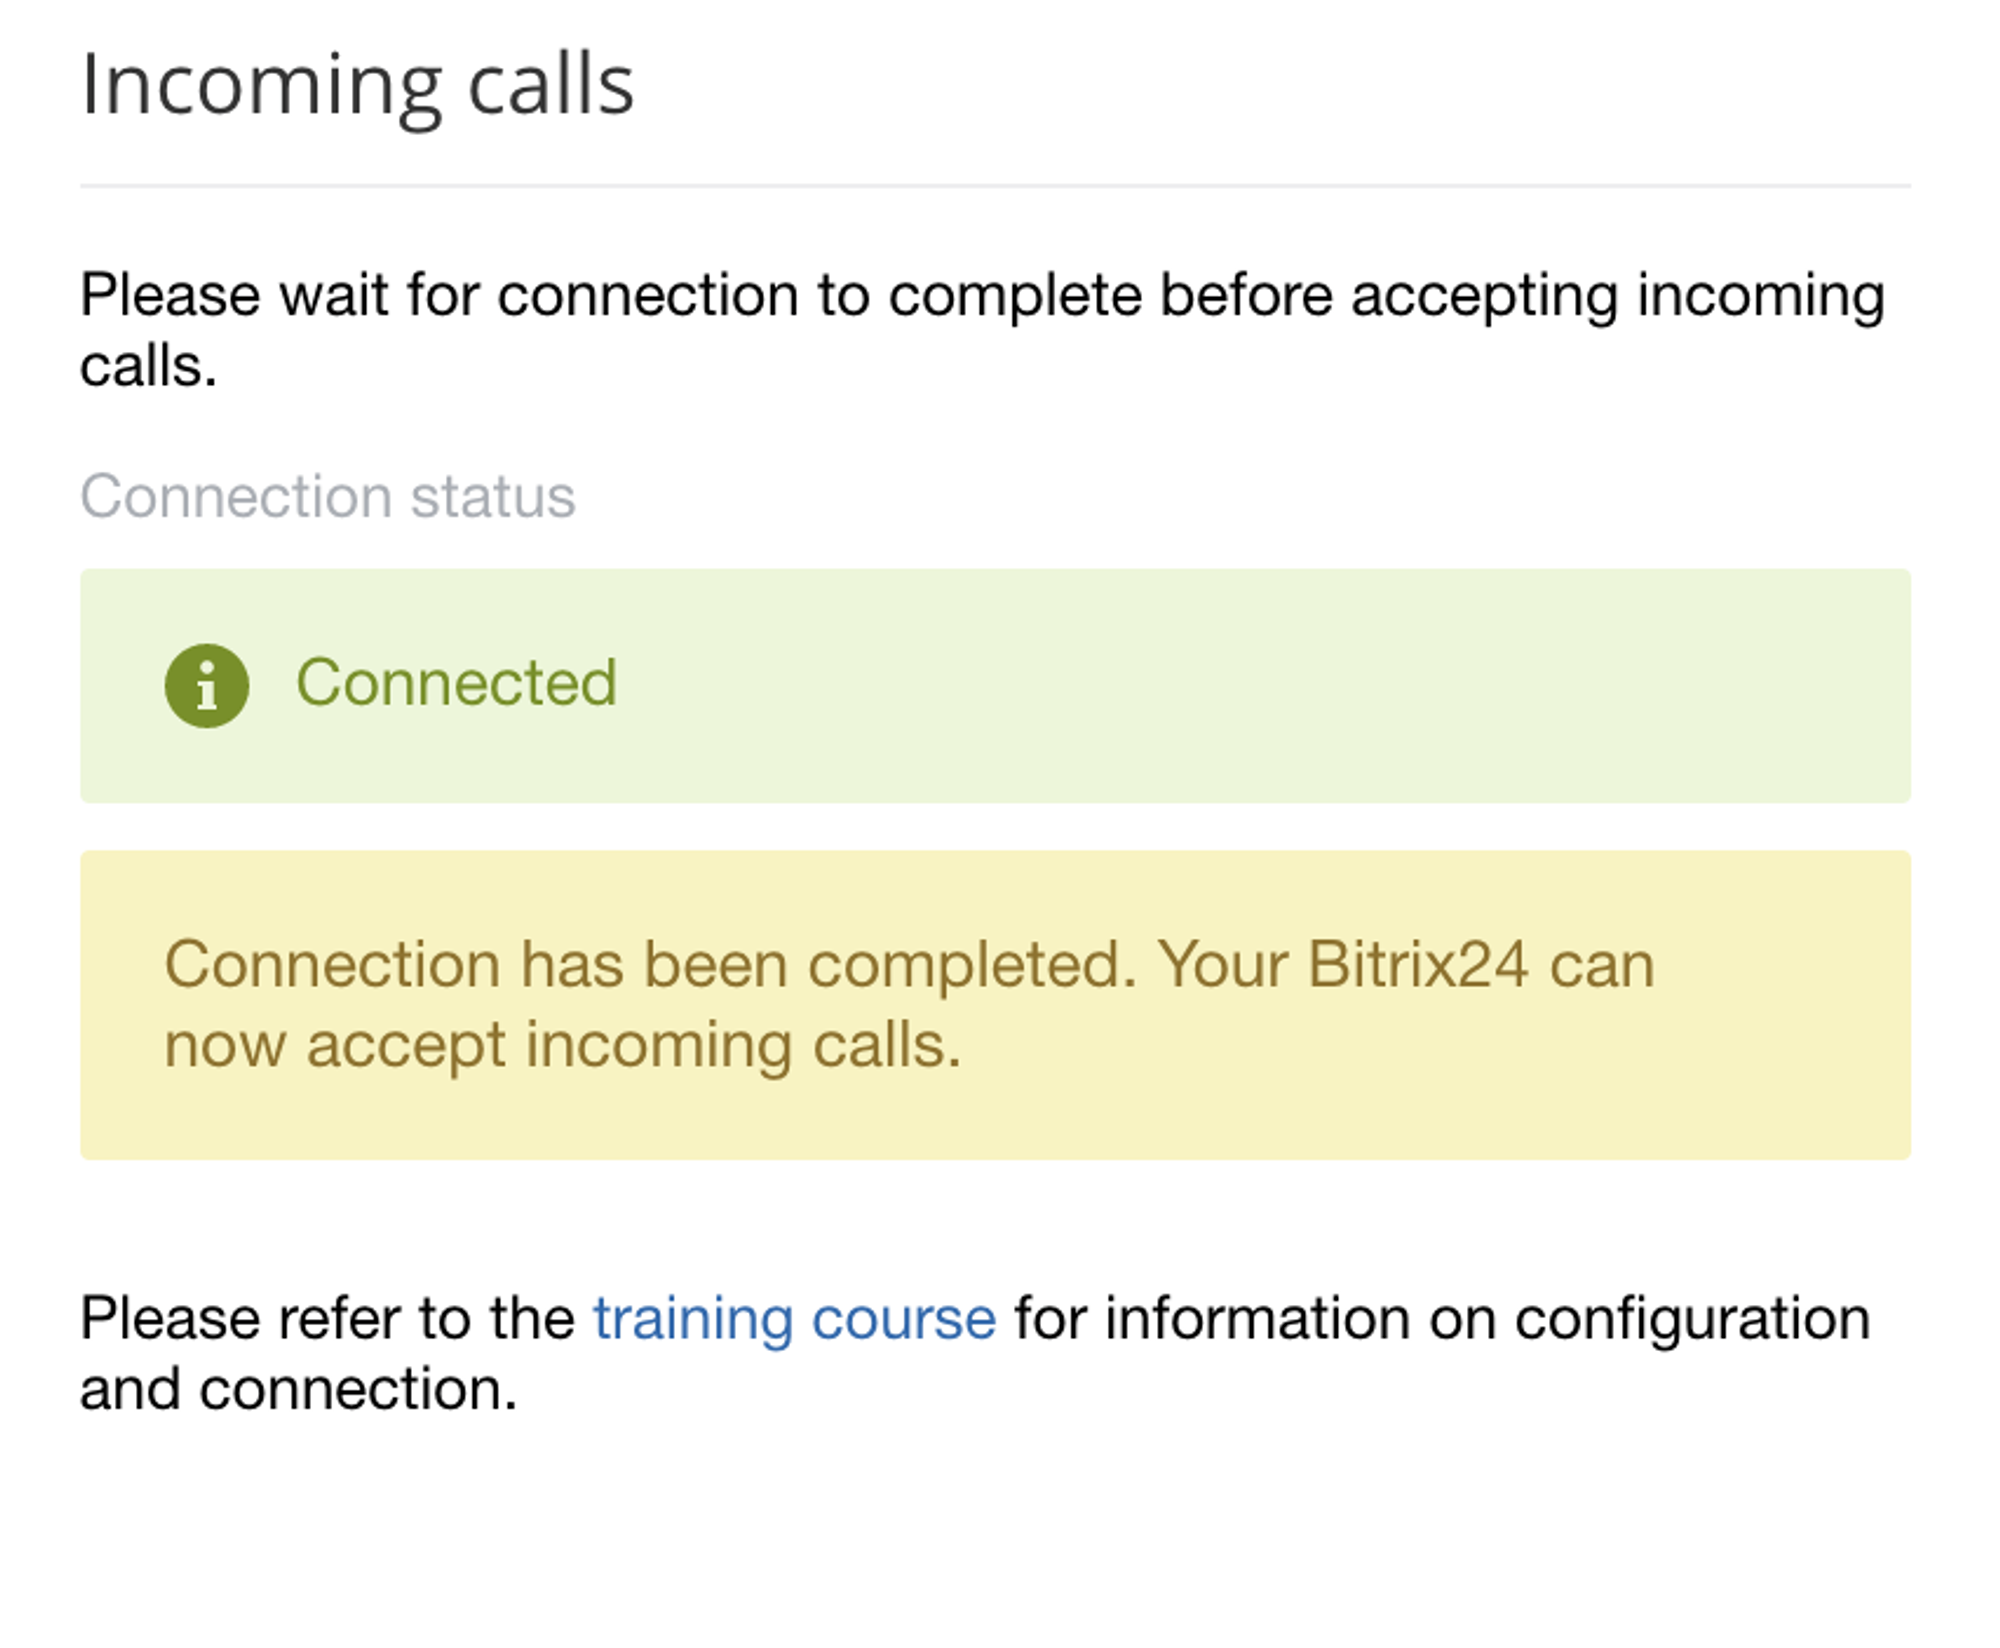
- You can check the status by clicking on Connection Settings.
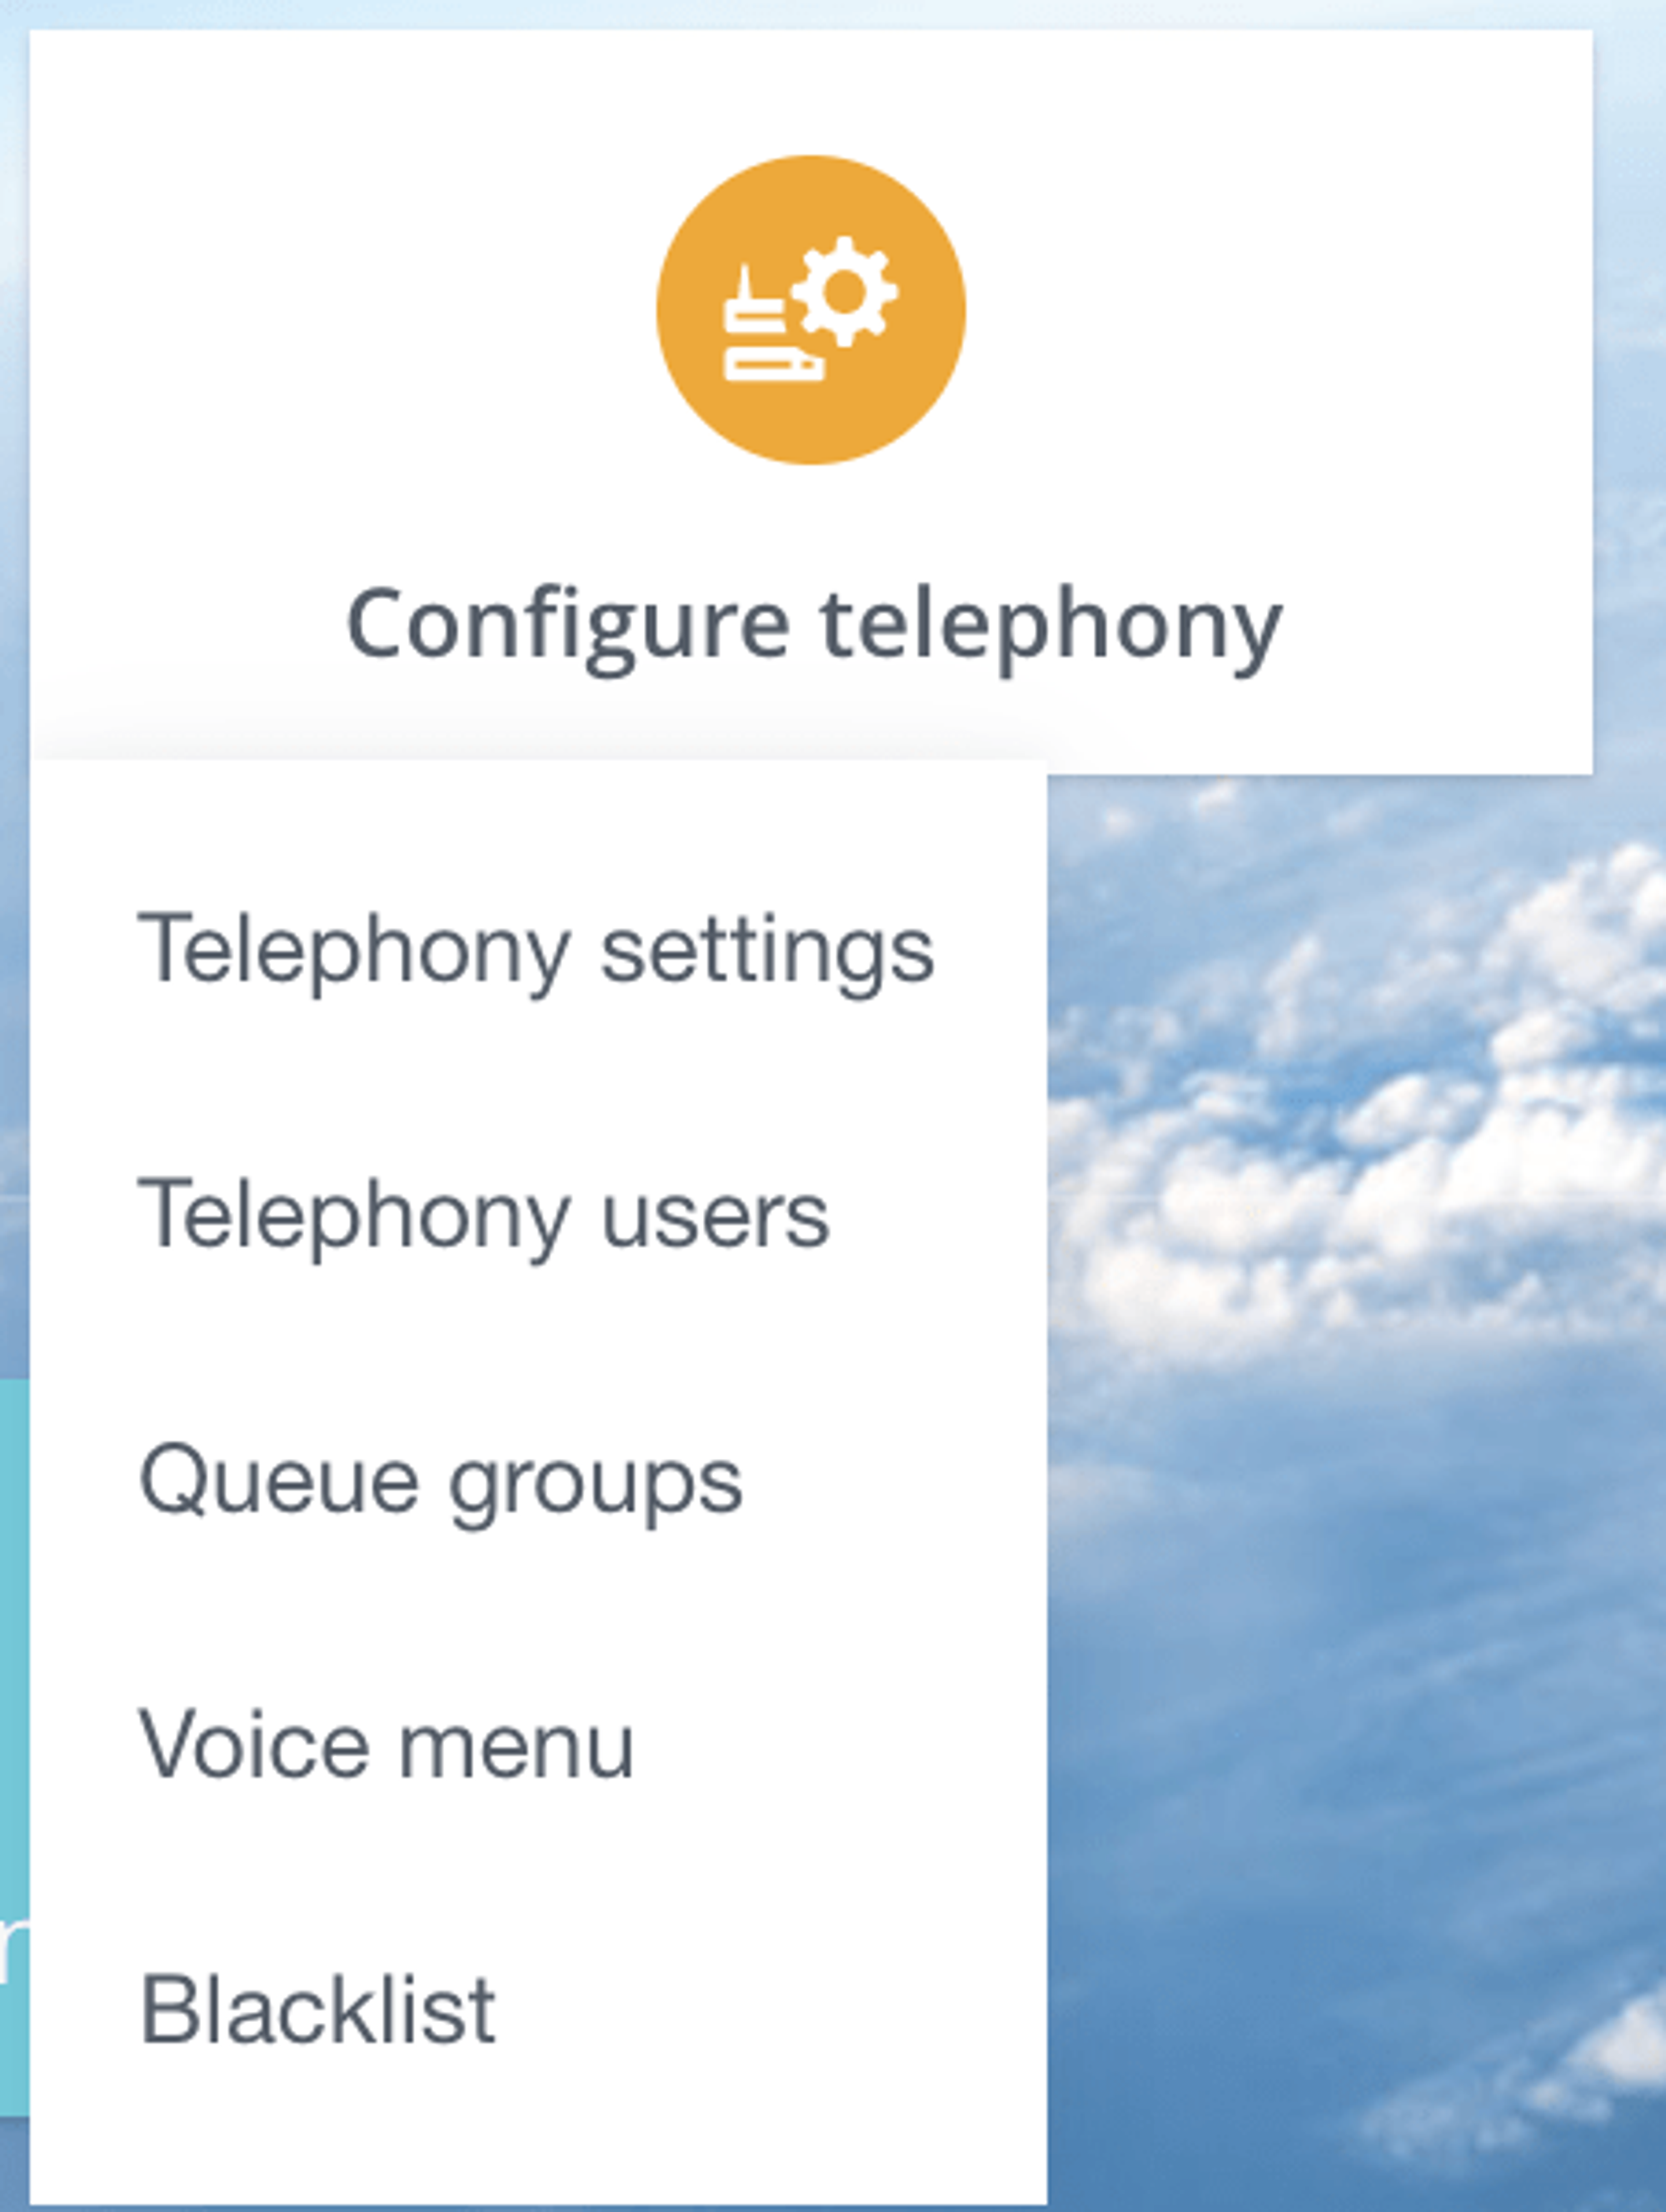
- Go to the main Telephony screen and Click on Configure Telephony. You’ll need to configure the Telephony Settings followed by the Telephony user. See the screenshots below.
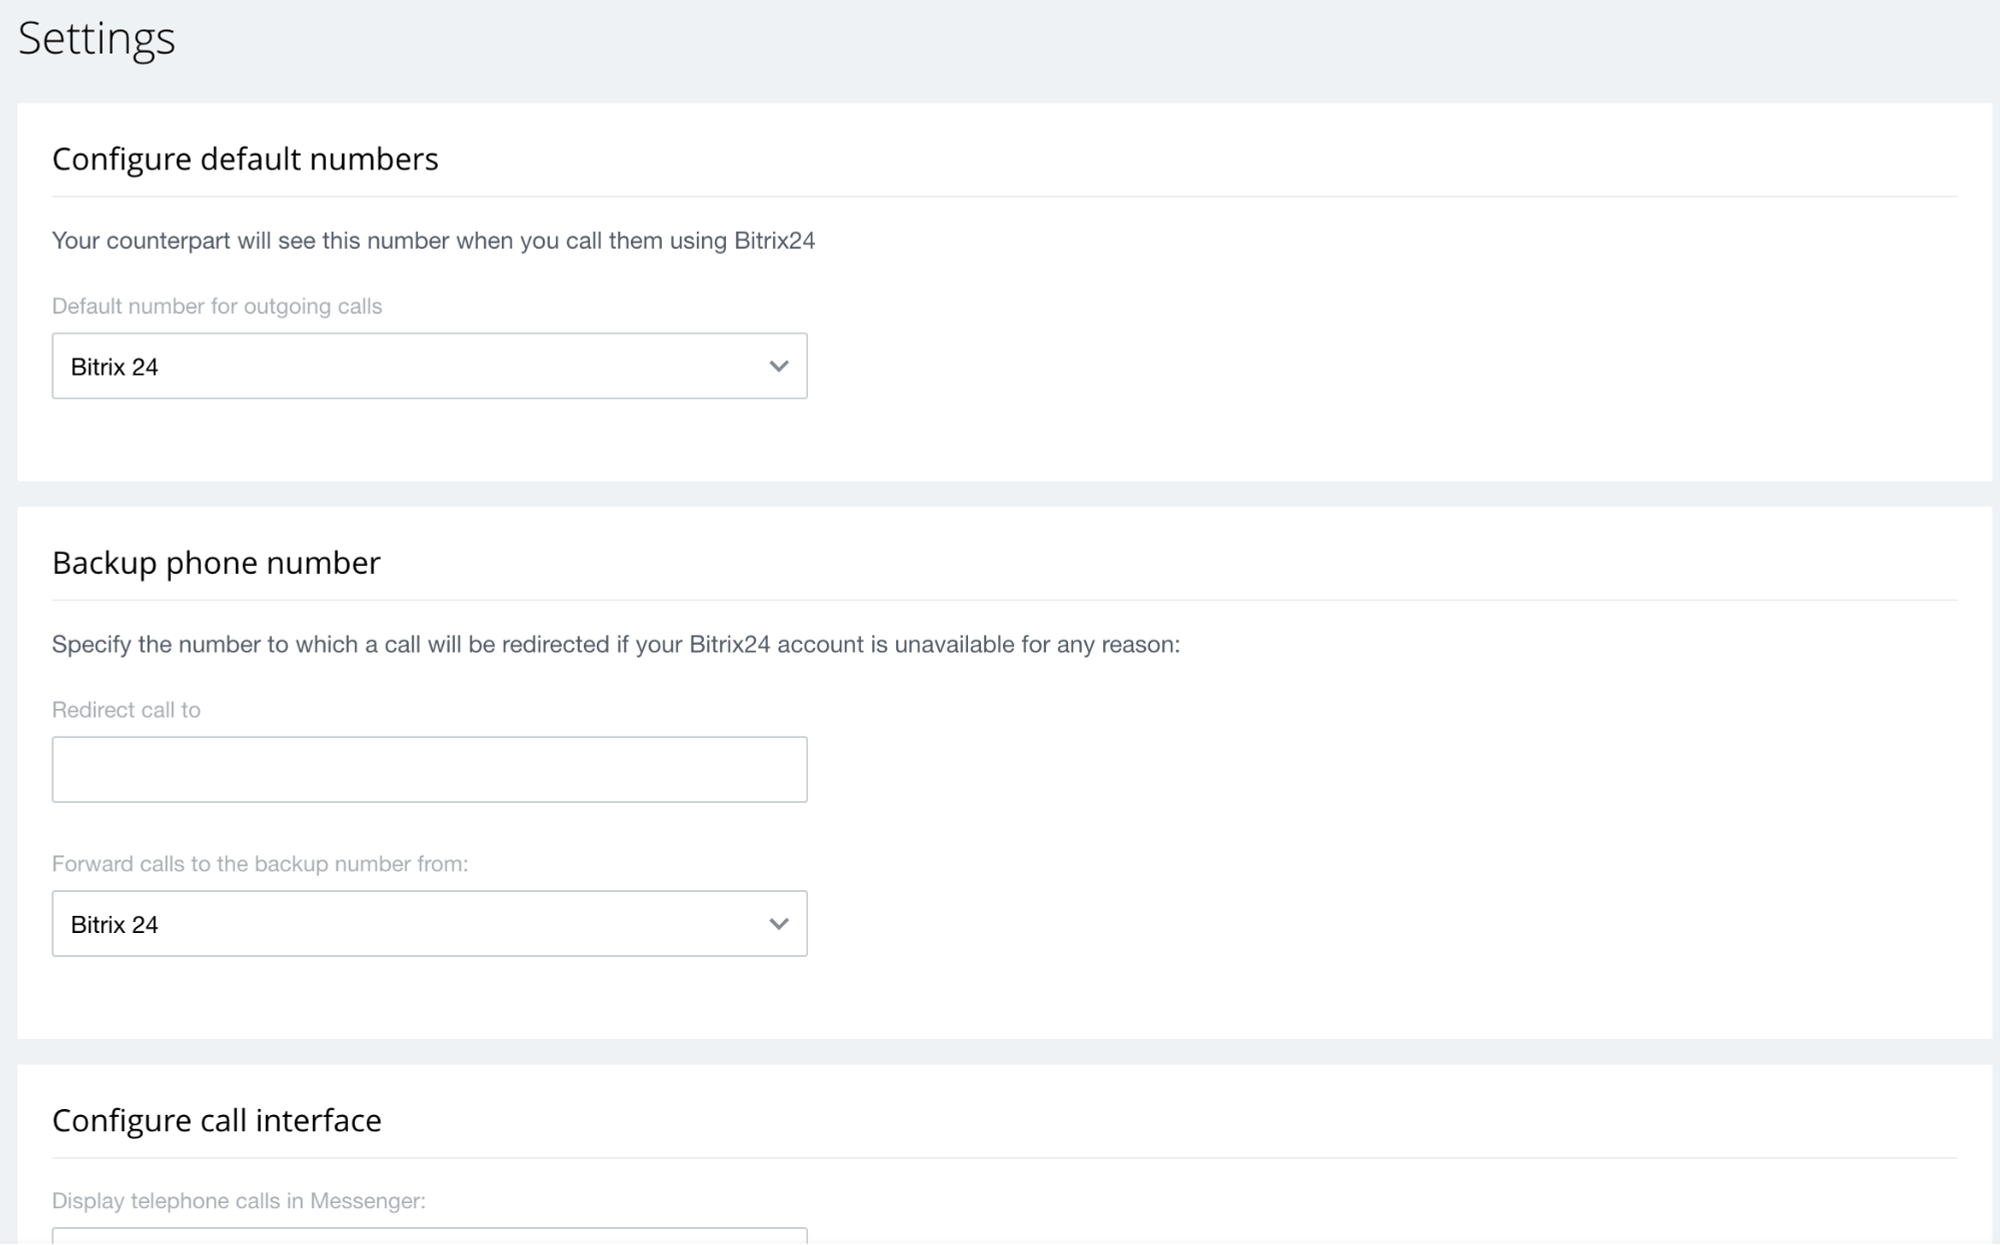
- Then, set up your Telephony Settings.
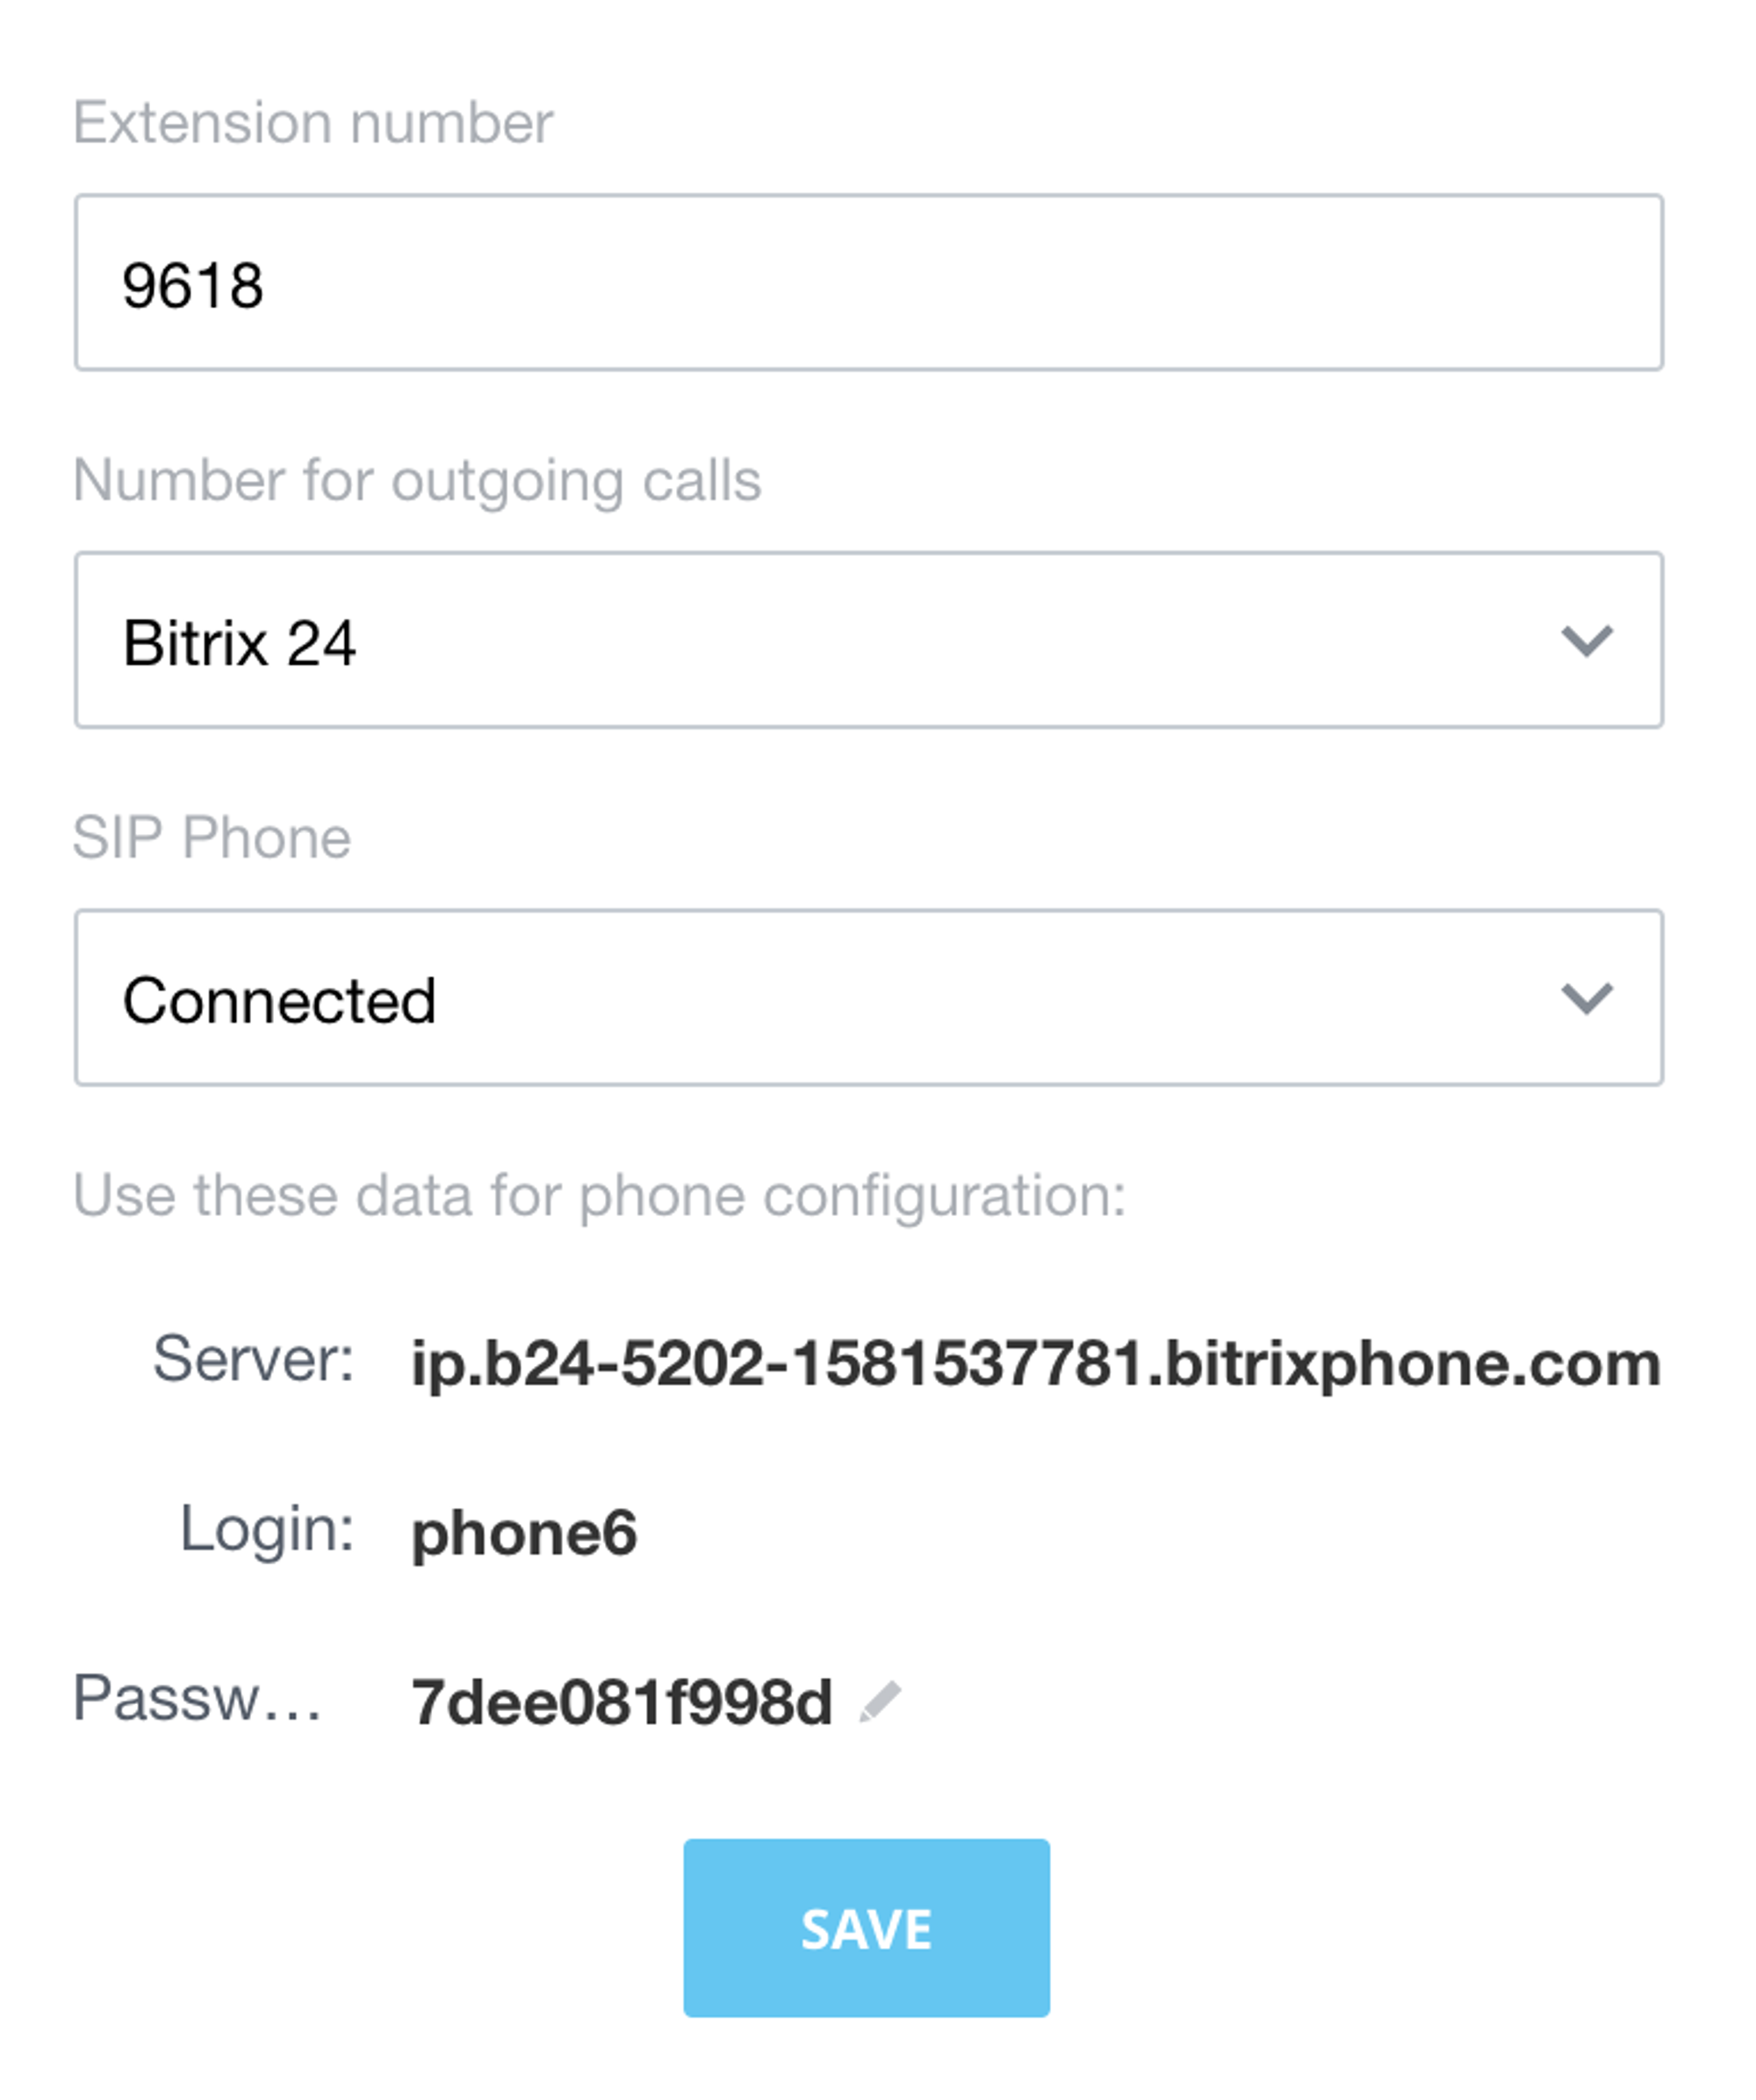
- Under Telephony Users select the agent you wish to place into this setup. Click on the hamburger menu to configure. Set the extension number if it is not already set. Choose the sip connector and sip phone then save.
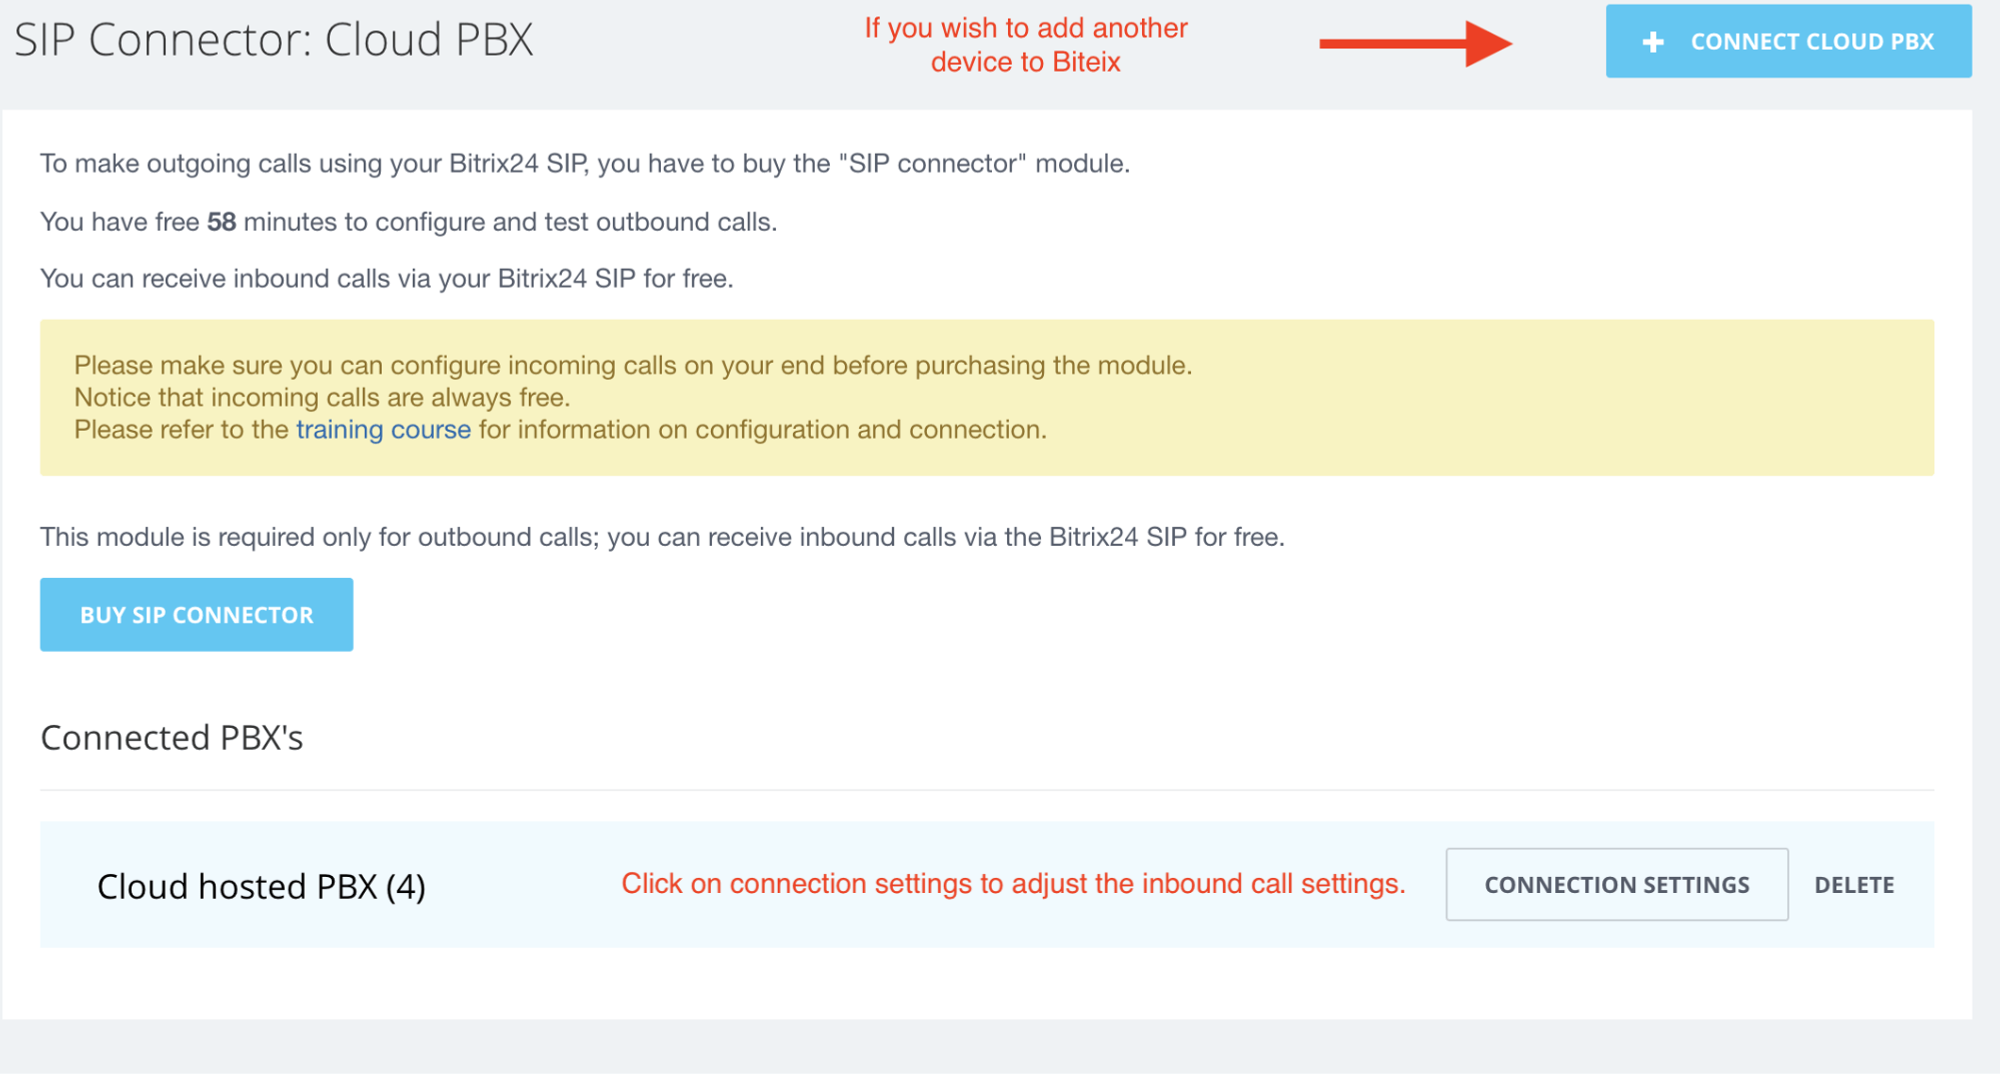
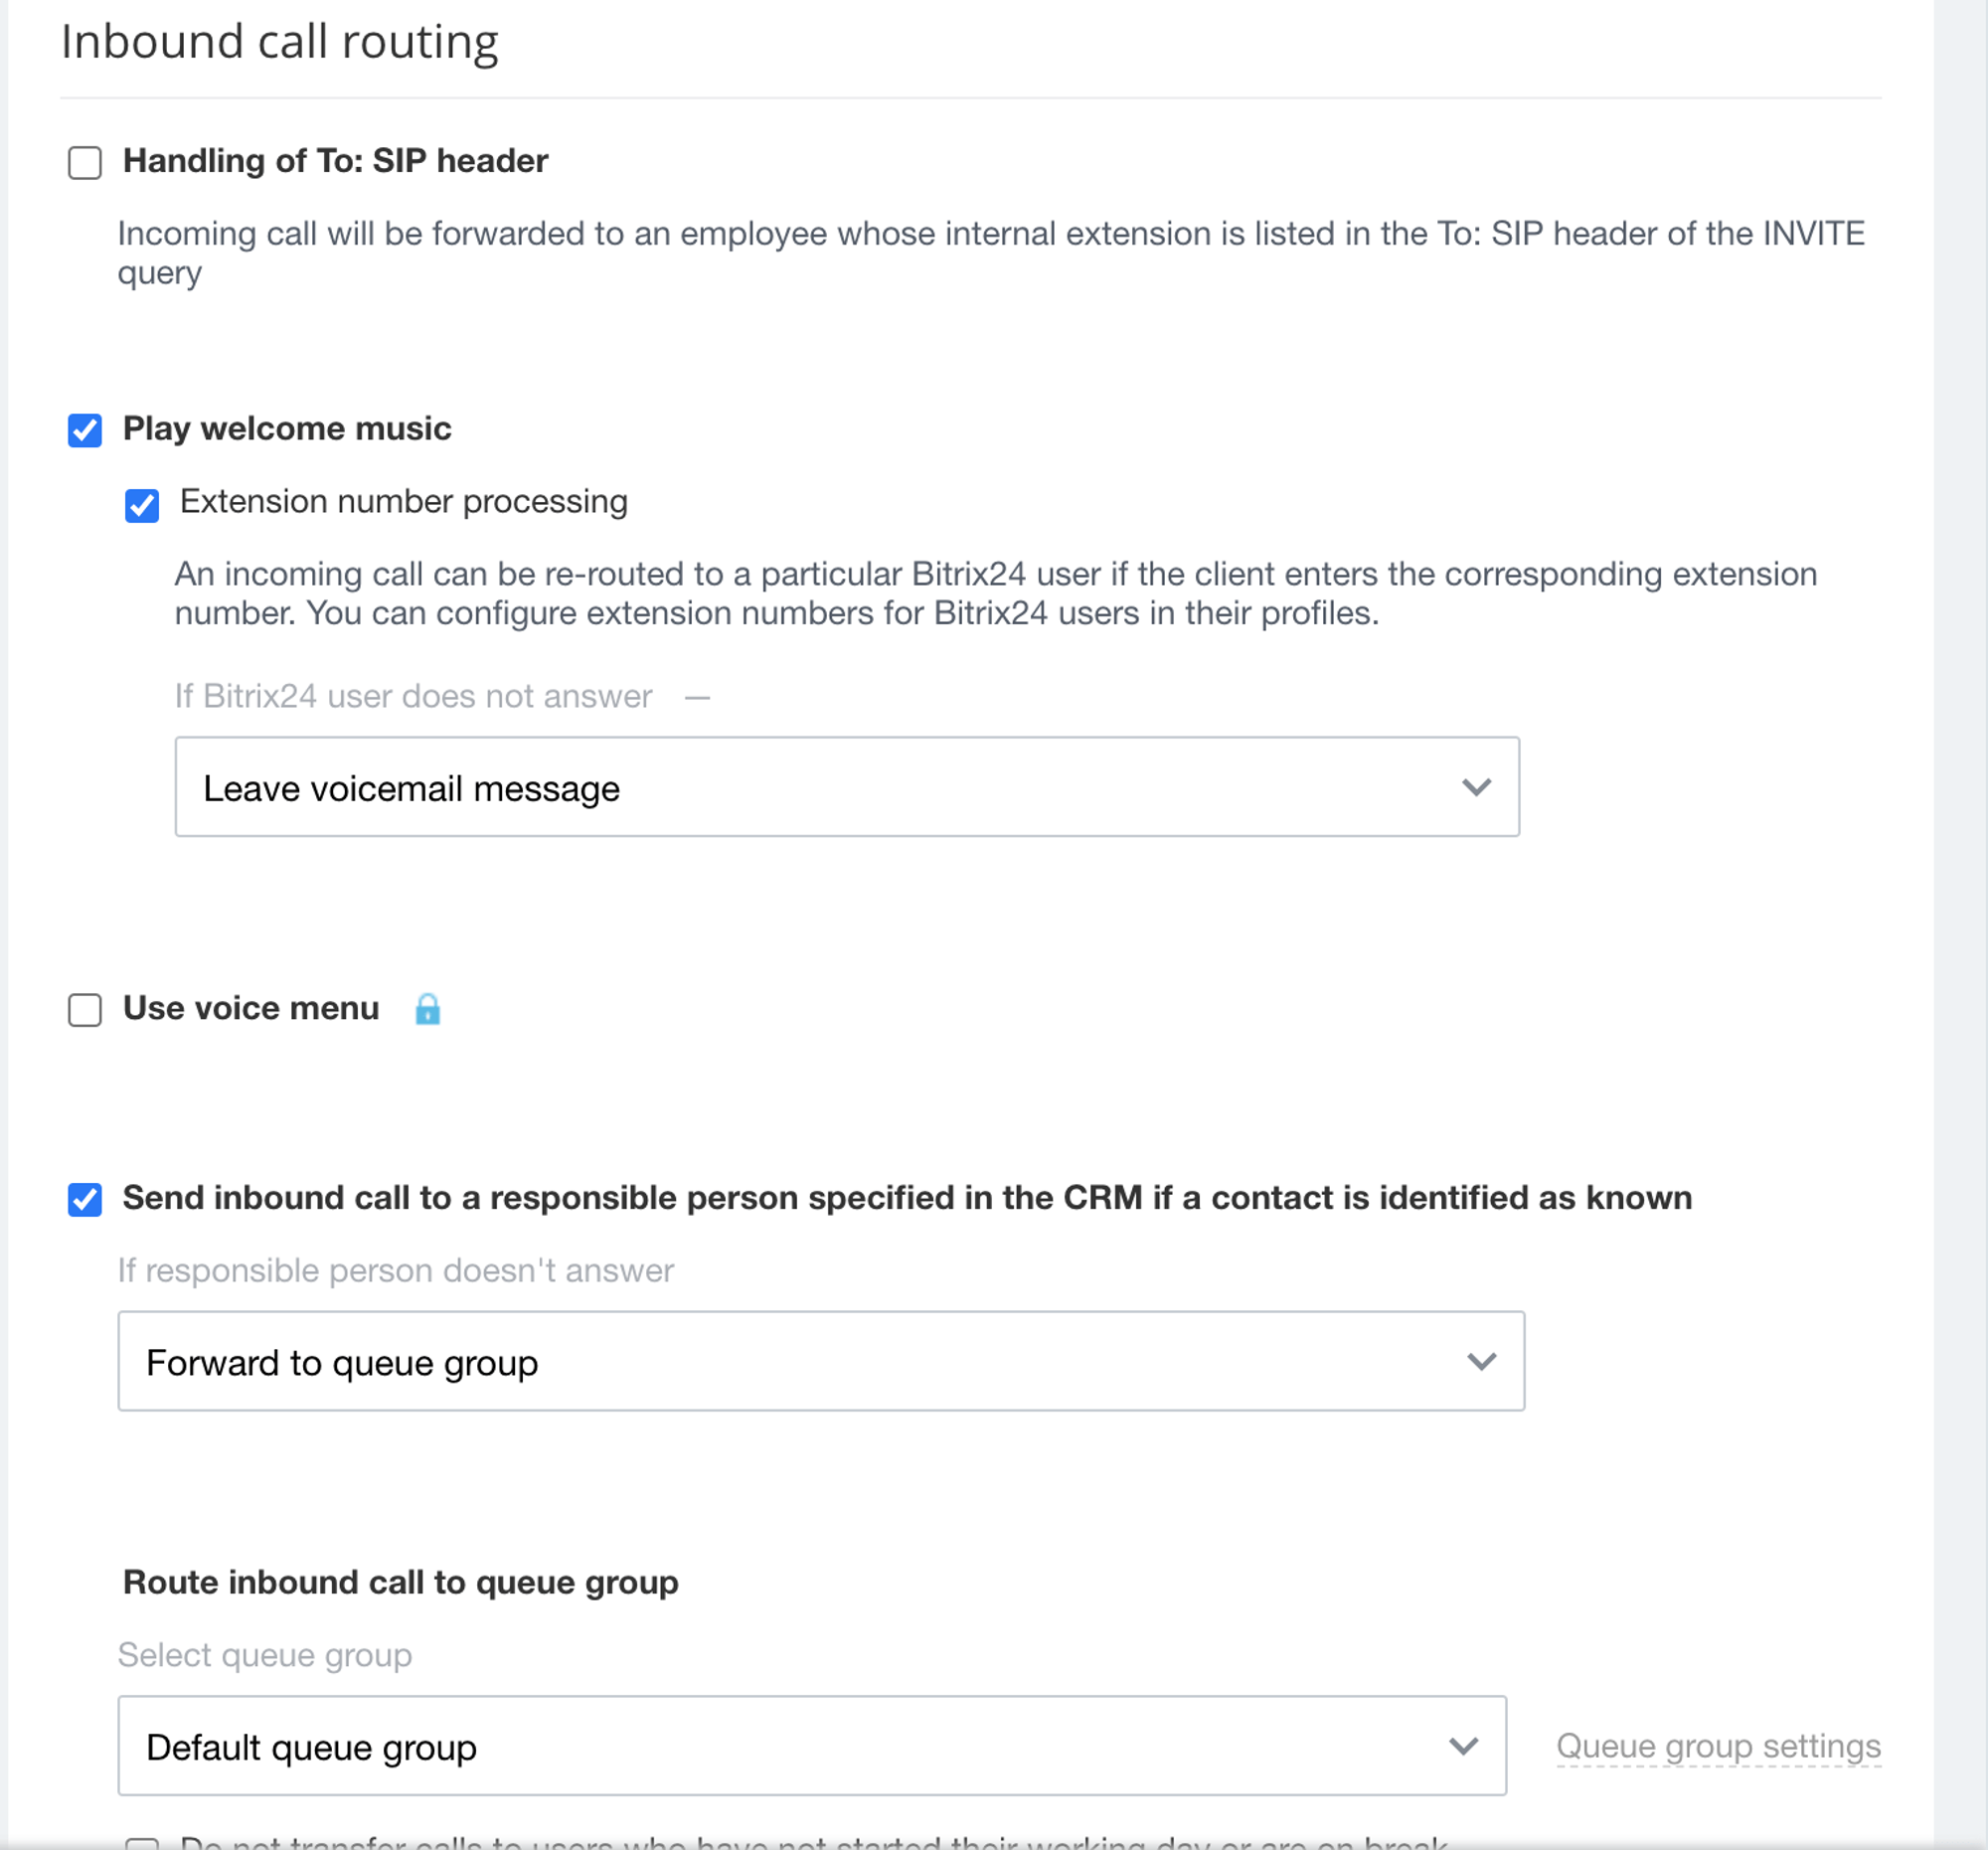
- Going Back to Cloud PBX, you can add additional devices and adjust incoming call rules.
