Webhooks in Dash send outbound web requests containing data for call events in near real-time. The information delivered can be used to integrate with internal systems and applications easily with Zapier. Zapier is a popular service used to connect over 750 applications in order to automate workflows and processes. In this document we explain how to connect a Dash Webhook to Zapier.
Hook Configuration
Dash Webhooks can be configured to send HTTP(S) requests to report URLs and supports GET and POST requests. The data delivered depends on the Trigger event selected. The current version of Dash Webhooks only supports Channel events, which are directly related to call activity.
You should not send multiple Dash Webhooks to the same Zapier URL. Zapier will not handle differences in the payloads in a way that allows you to process all the data. Using separate Zapier Triggers and URLs is the best approach.

- Click on the Menu Icon at the top right
- Click on Webhooks

- Click on New Webhook
- Fill out the form
- Click on Create Webhook
Hook Trigger Events
A Webhook will deliver data about the selected channel events to the configured URL. Currently the available events include:
- Channel:
- Answer
- Bridge
- Create
- Destroy
- ACD Queue:
- Queue Join
- Queue Leave
- Recipient Away
- Recipient Delivered
- Recipient Hangup
- Recipient Login
- Recipient Logout
- Recipient Offer
- Recipient Ready
- Recipient Rejected
- Recipient Status Change
- Call Parking
- SMS
- Notifications Webhook (including the following custom data types):
- Callflow Webhook Triggered
- Voicemail Message Saved
- New Voicemail Message
- Voicemail Box Full
- Registration
- Ported
- Port Unconfirmed
- Port Scheduled
- Port Request
- Port Rejected
- Port Pending
- Port Comment
- Port Cancel
- Password Recovery
- Invalid Email-to-Fax Email
- Fax Transmission Error
- Successful Fax Transmission
- New User
- Missed Call
- Fax Reception Error
- Successful Fax Reception
- De-Registration
- CNAM Update
Channel events deliver information about calls in the form of a call detail record. The information is formatted as a JSON payload.
Hook Payload
Here’s what you can expect to receive when a webhook fires to your server – most of these fields should be present on all payloads:
Base Payload
- hook_event: the type of hook being fired
- call_direction: “inbound” or “outbound”, relative to your Dash system
- timestamp: Gregorian timestamp of the event
- account_id: ID of the account generating the event
- request: SIP Request
- to: SIP To
- from: SIP From
- call_id: SIP Call ID
- other_leg_call_id: if bridged, the Call ID of the other leg
- caller_id_name: Caller ID Name
- caller_id_number: Caller ID Number
- callee_id_name: Callee Name
- callee_id_number: Callee Number
Hook Specific
- channel_create
- hook_event: channel_create
- channel_answer
- hook_event: channel_answer
- channel_destroy
- hook_event: channel_destroy
- hangup_cause: SIP Hangup Cause (NORMAL_CLEARING, ORIGINATOR_CANCEL, etc)
- hangup_code: SIP Hangup Code (404, 503, etc)
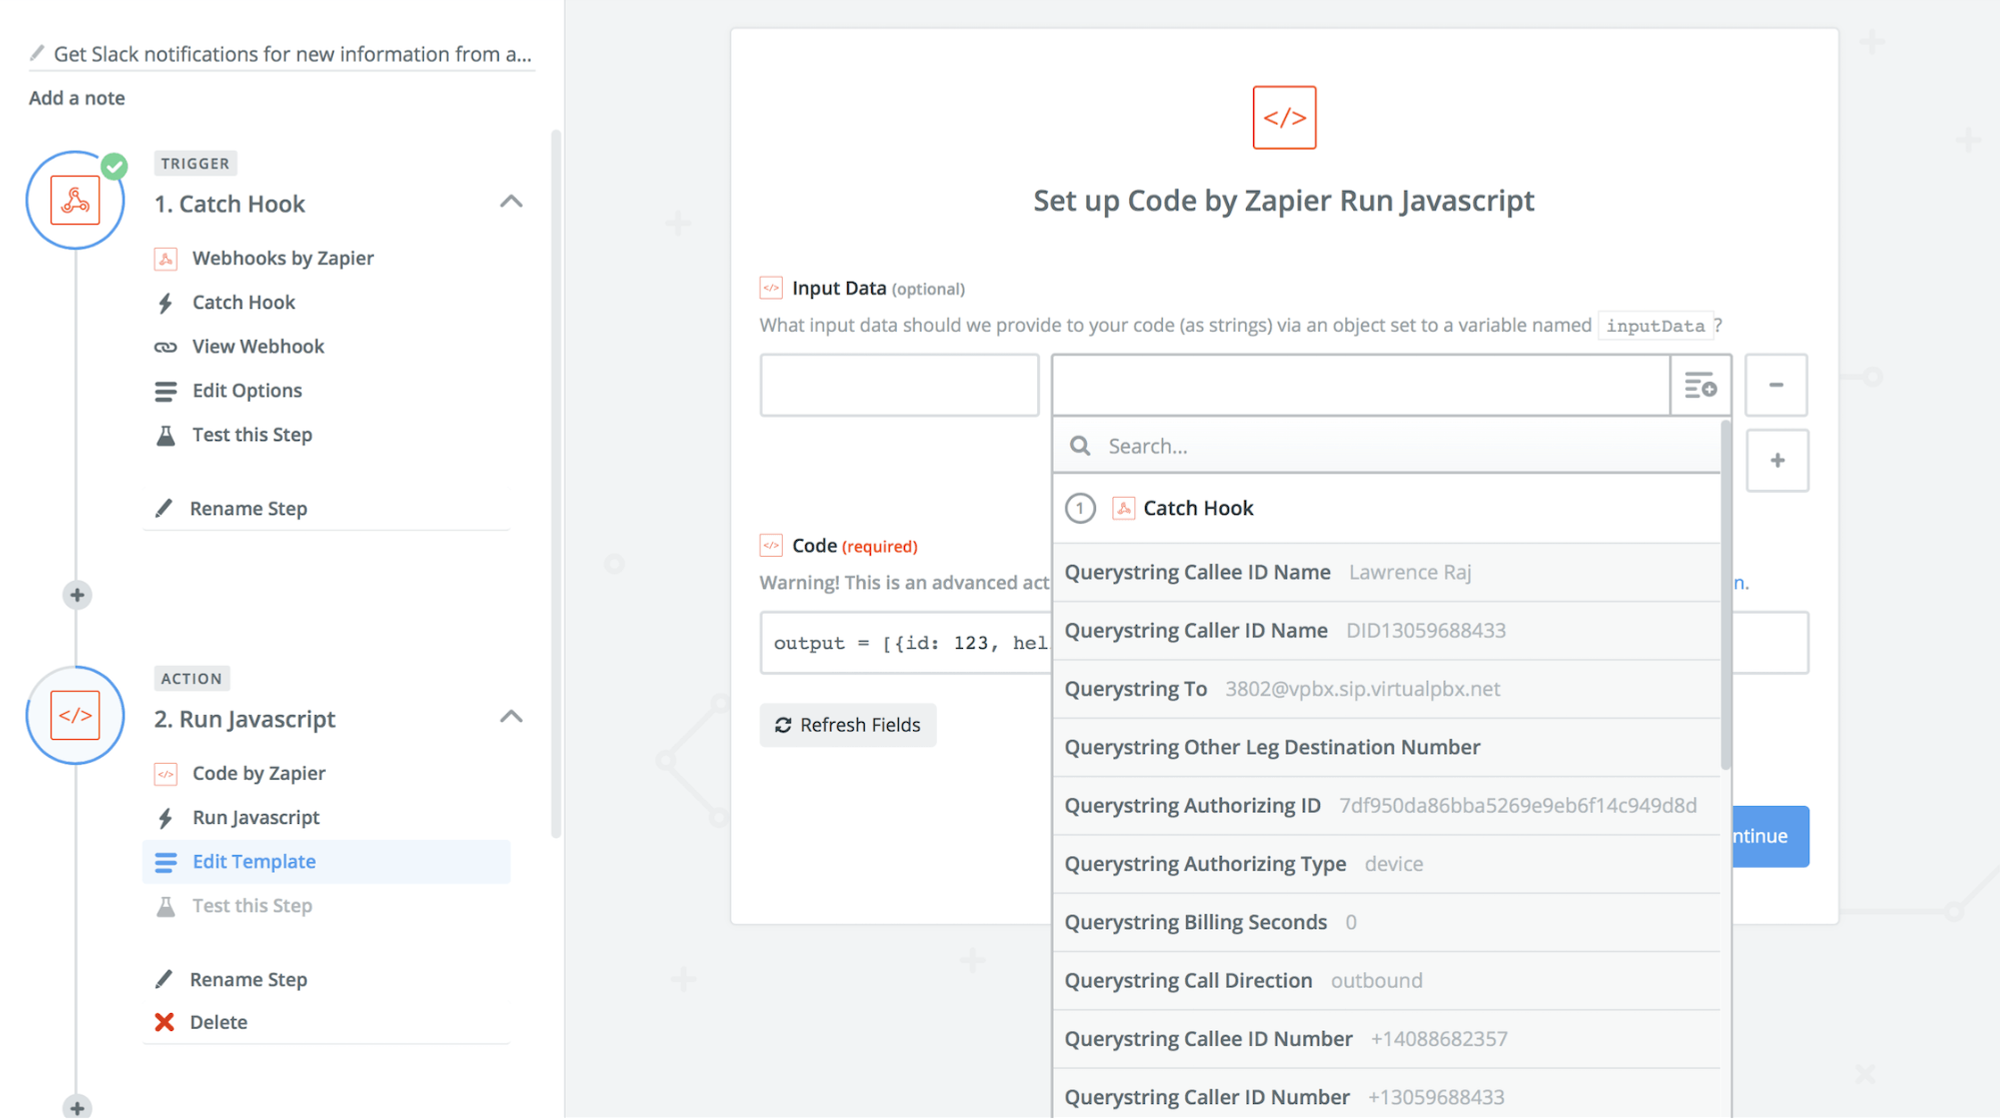
Configuring Zapier with a Webhook
Zapier accepts Webhooks which can be chained to other services. When configuring a Zapier Webhook, keep in mind the volume of calls a system receives will generate one or more events for each call event. This can quickly consume Zapier Tasks if multiple webhooks are configured or your account has a high volume of call traffic. Please review Zapier’s Plans for more detail.

- Create a new Zap, locate Webhooks by Zapier and select that App.
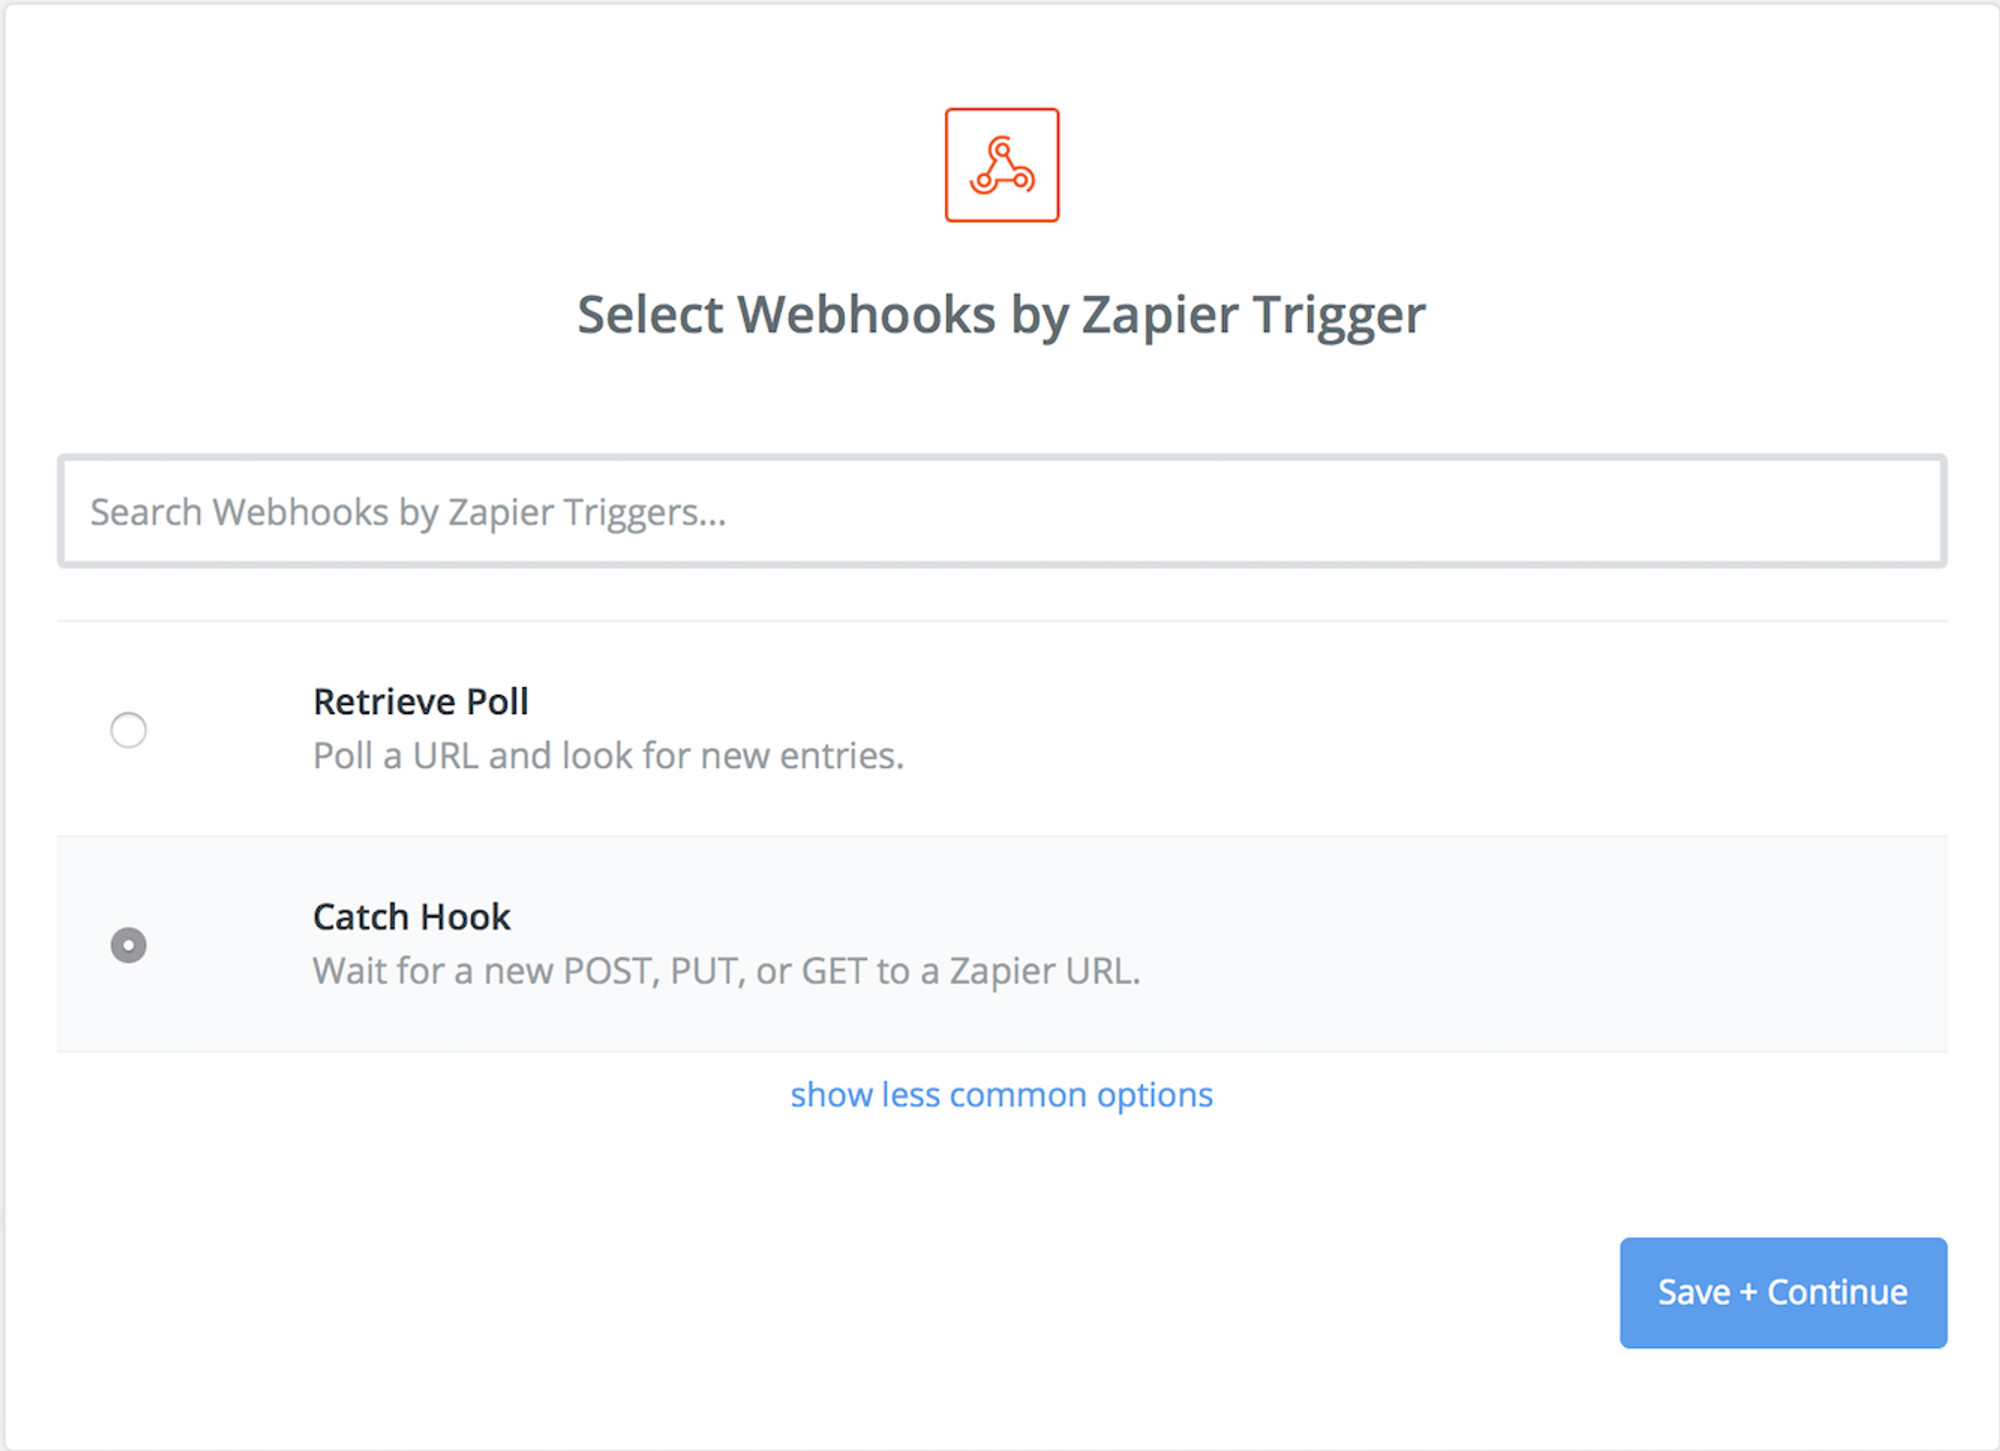
- Select “Catch Hook” as the Zapier Trigger.
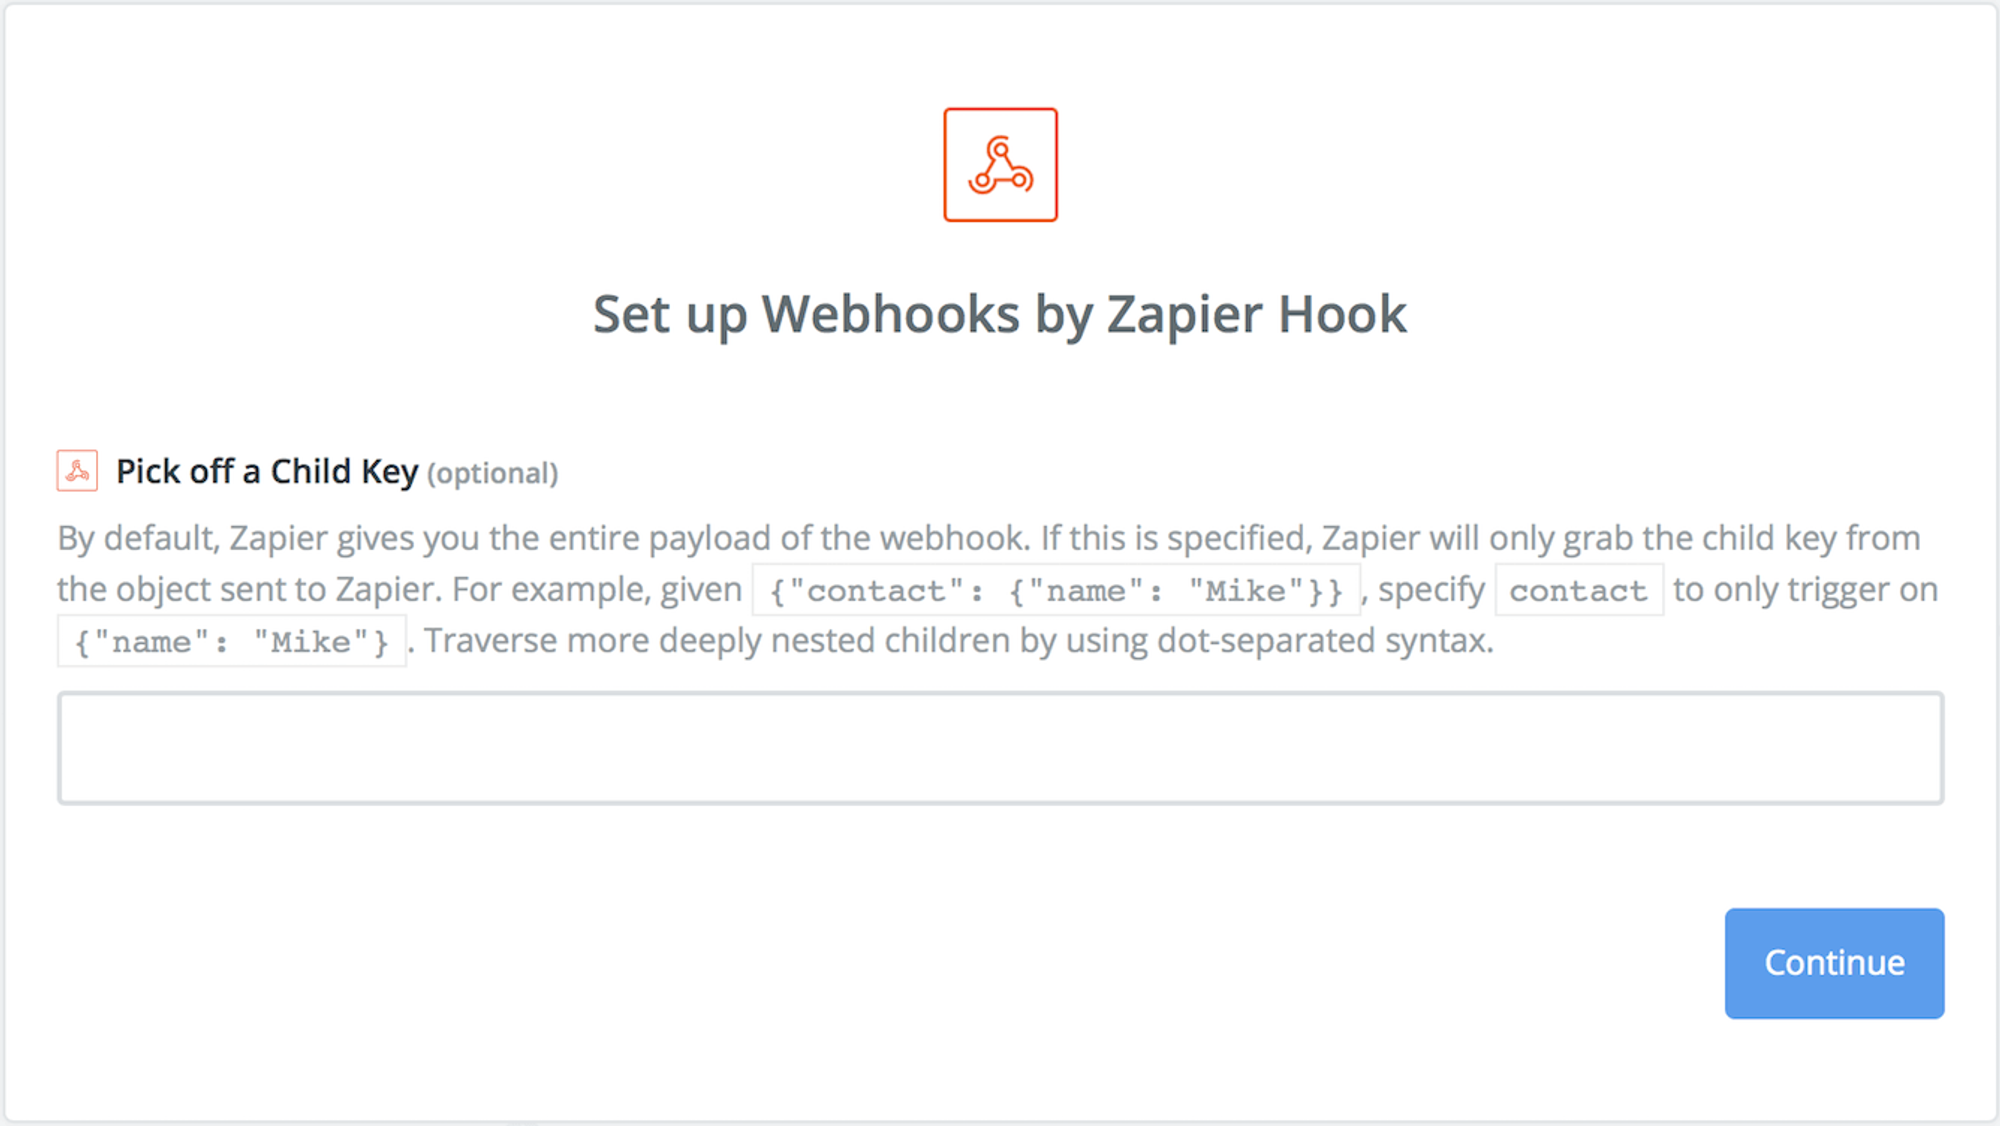
- Pick off a Child Key should remain empty to capture all data delivered.
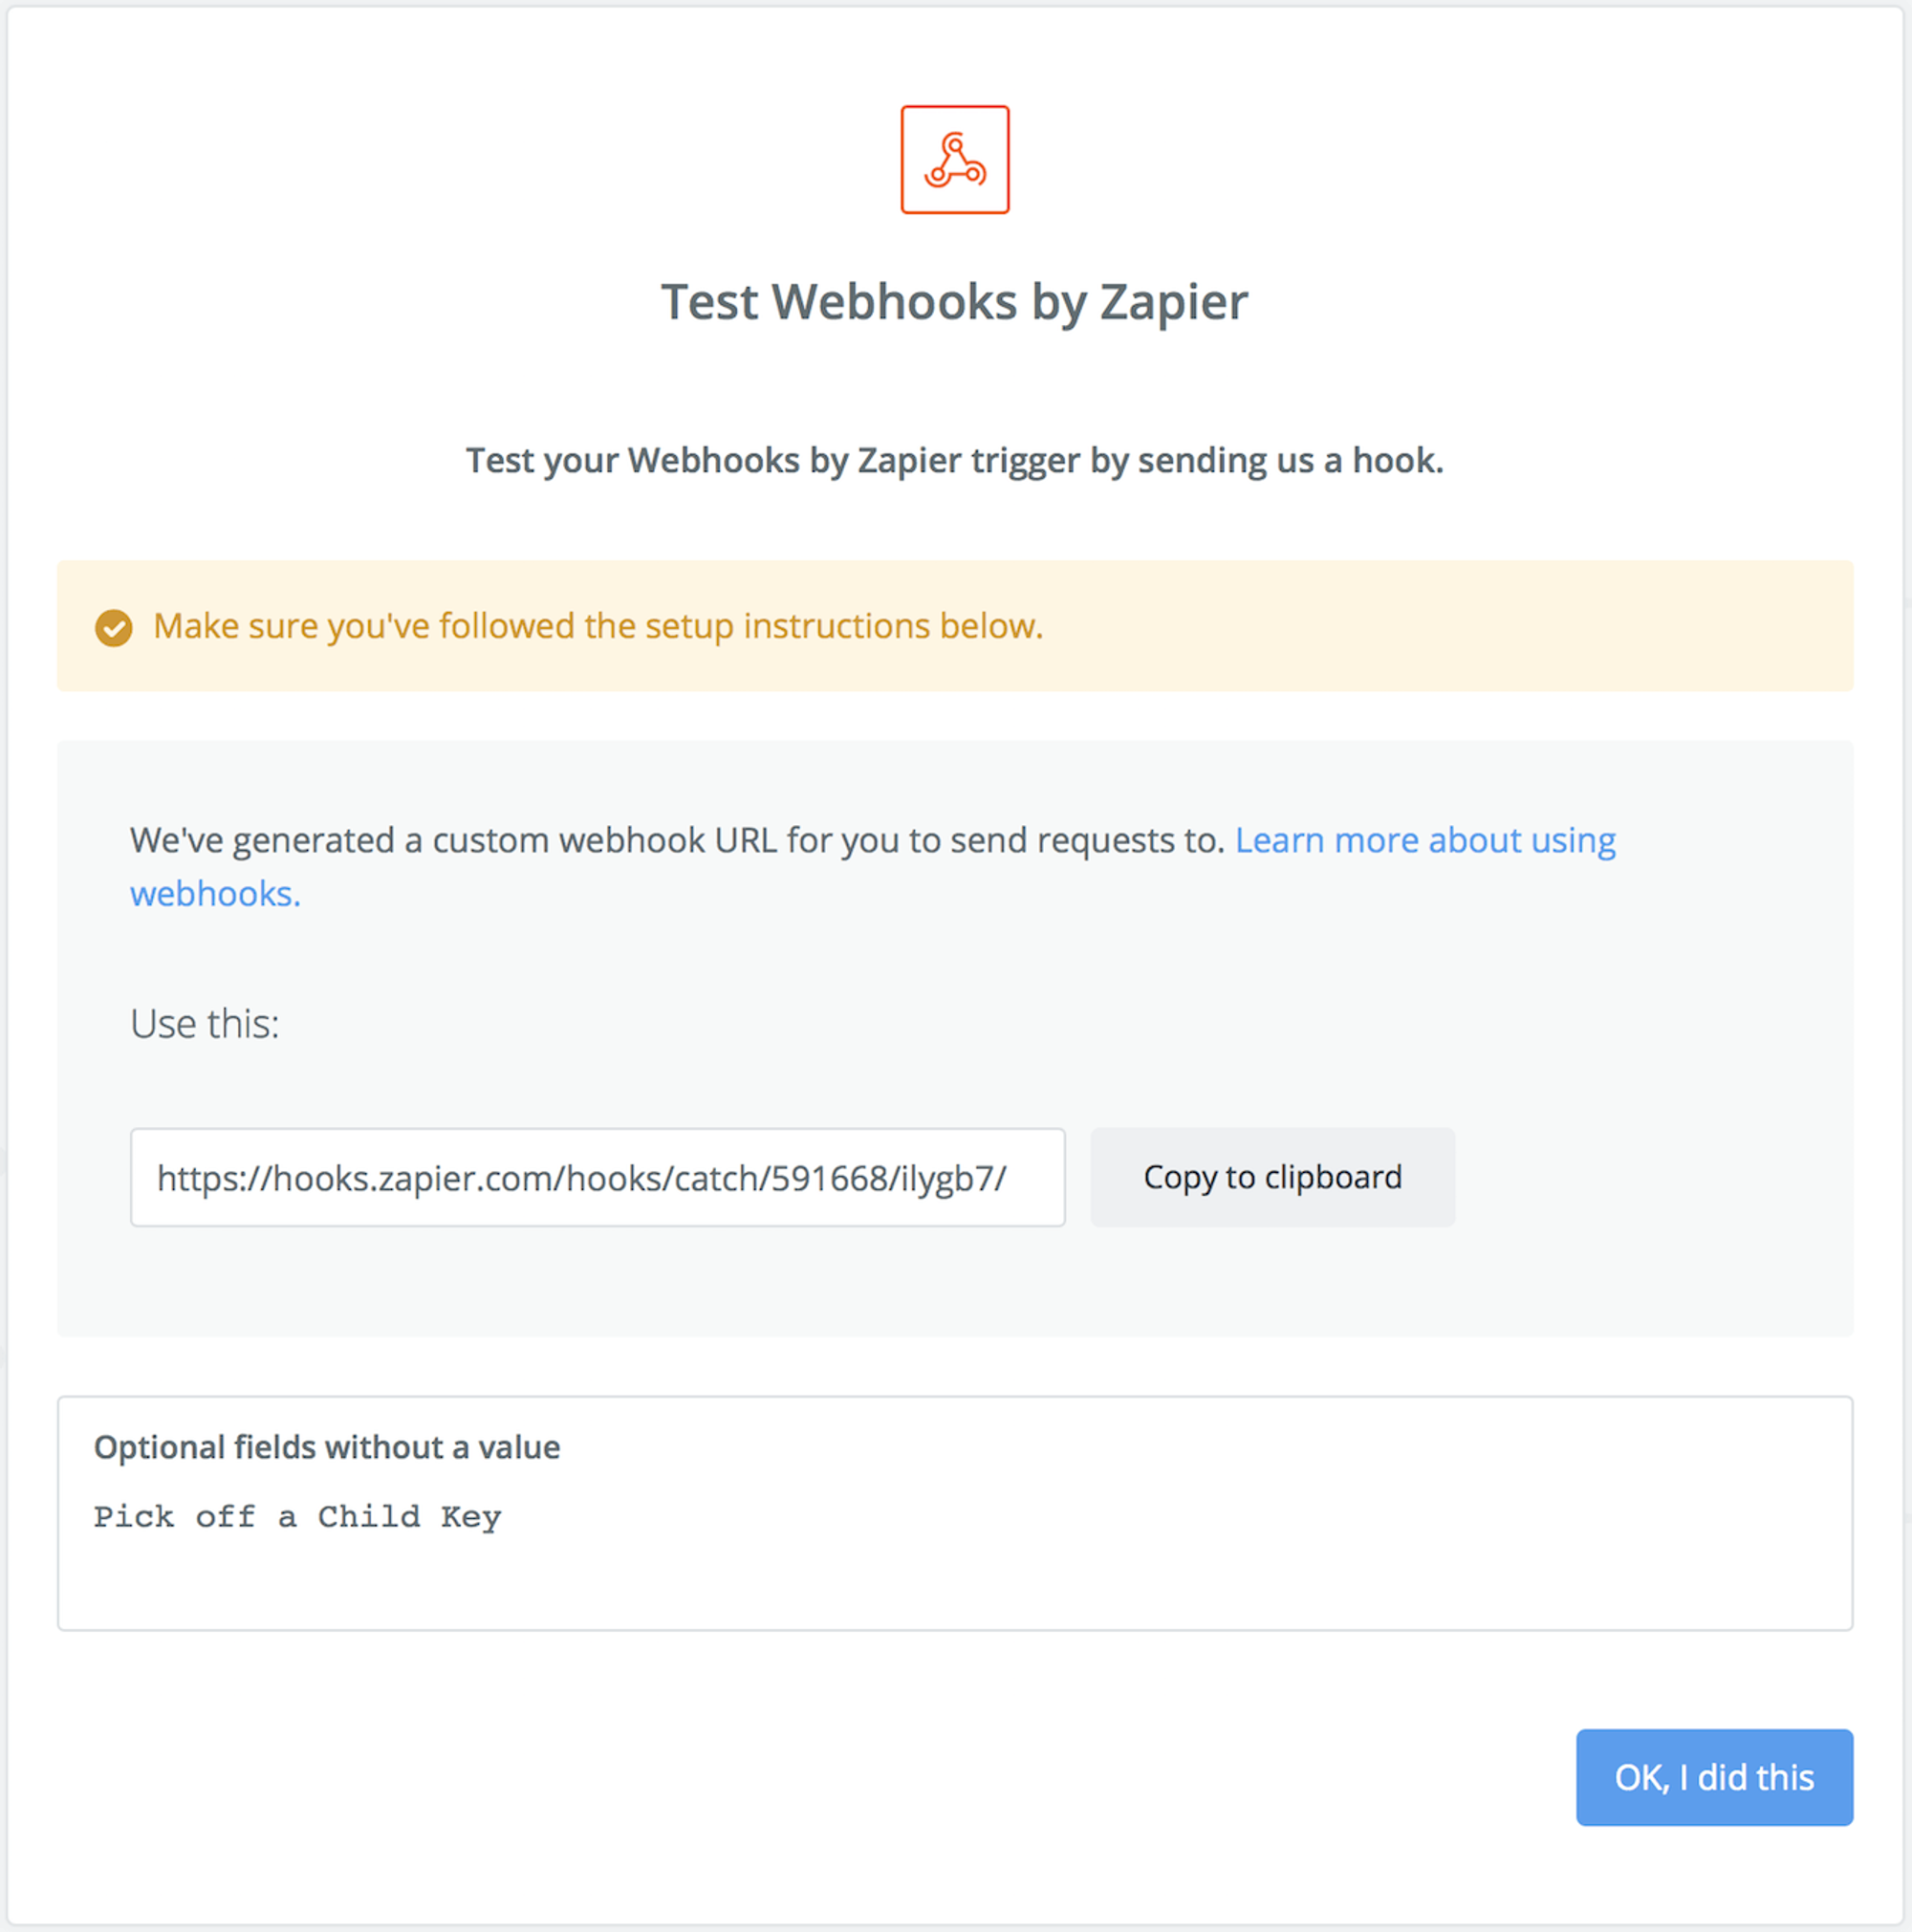
- Next, copy the Webhook URL. This is needed to create the Webhook on Dash.

- In Dash, create a Webhook. Select a Trigger event – Channel Destroy provides ideal data for capturing call activity. Enter the Zapier Webhook URL into the URL field and select 4 Re-try Attempts and finally Create Webhook.
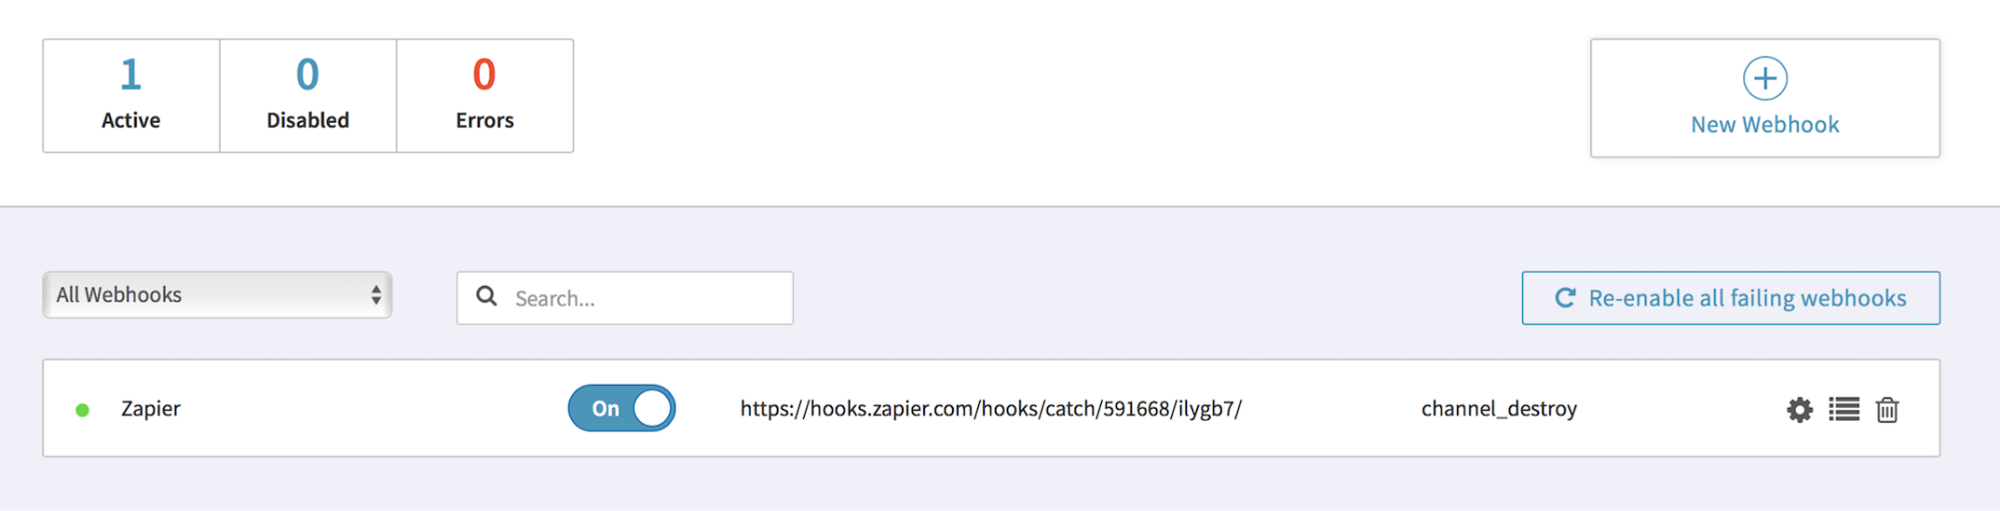
- The Webhook will now be created. Make sure it’s toggled to On. This must be completed before completing configuration in Zapier.
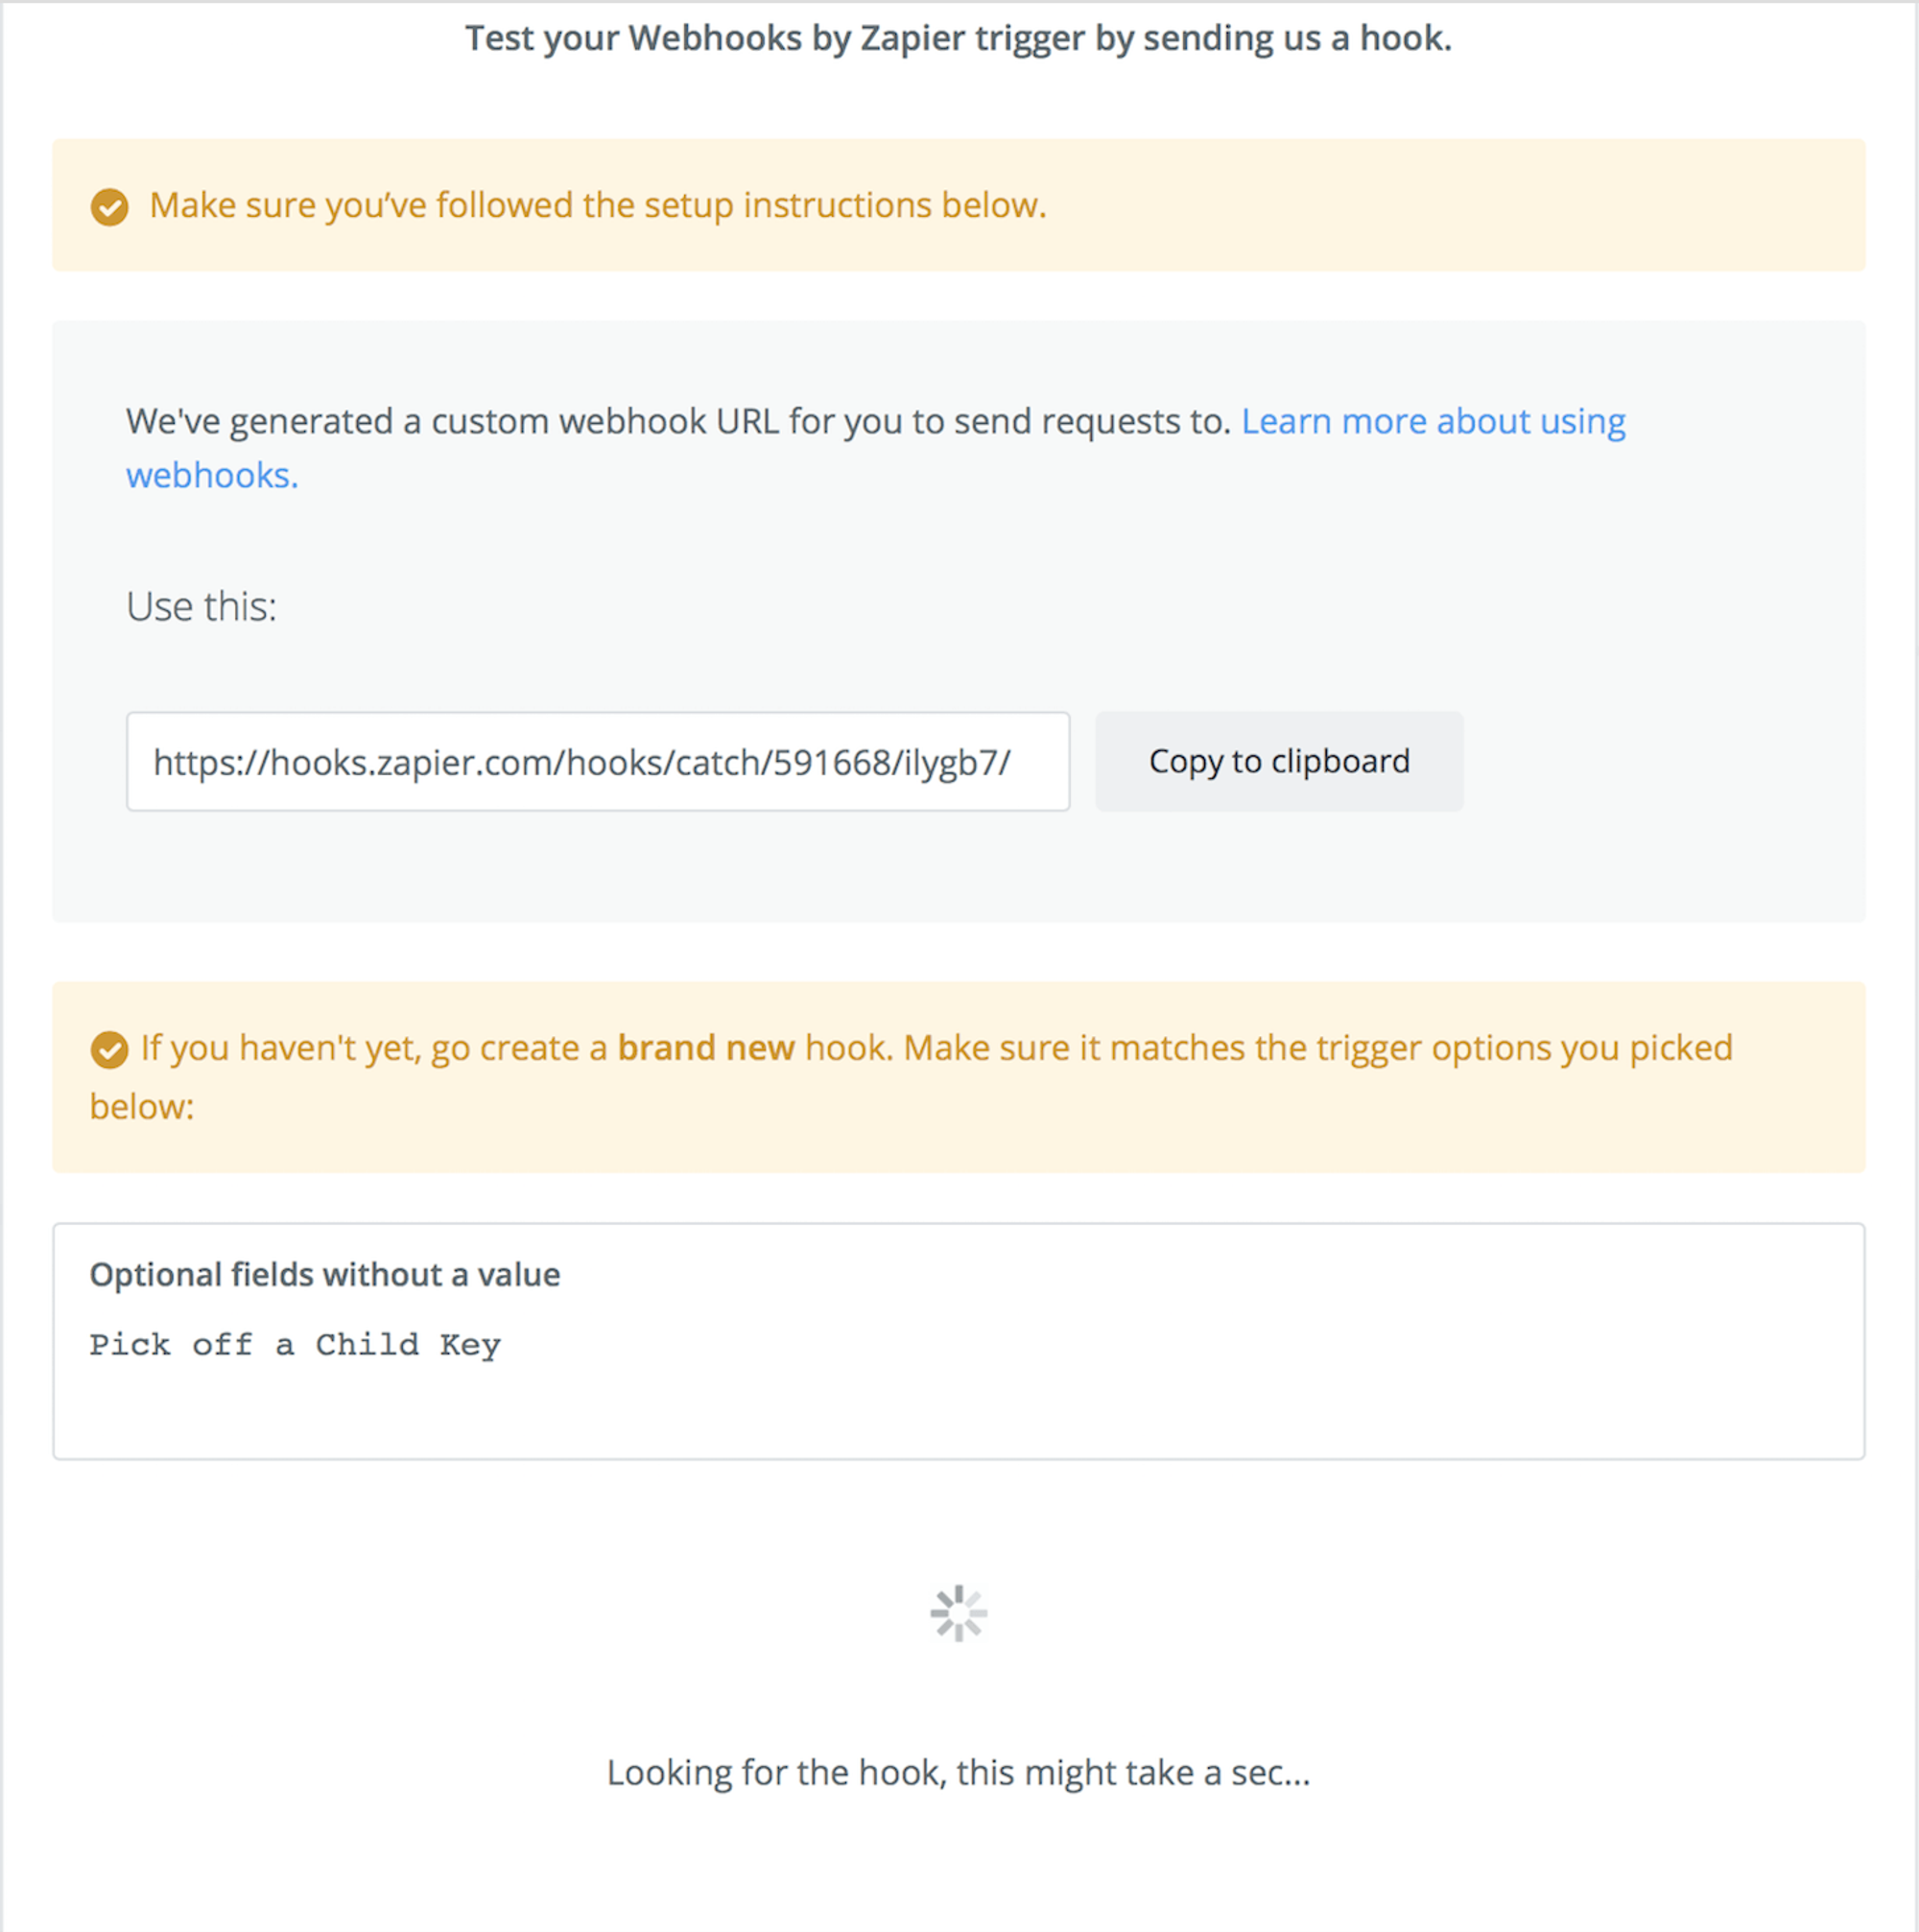
- In Zapier, continue the to the next step. Zapier will wait for the Dash Webhook to send a request. You must place a call to a number on your account, wait a few seconds, then hang up to trigger the Dash Webhook.
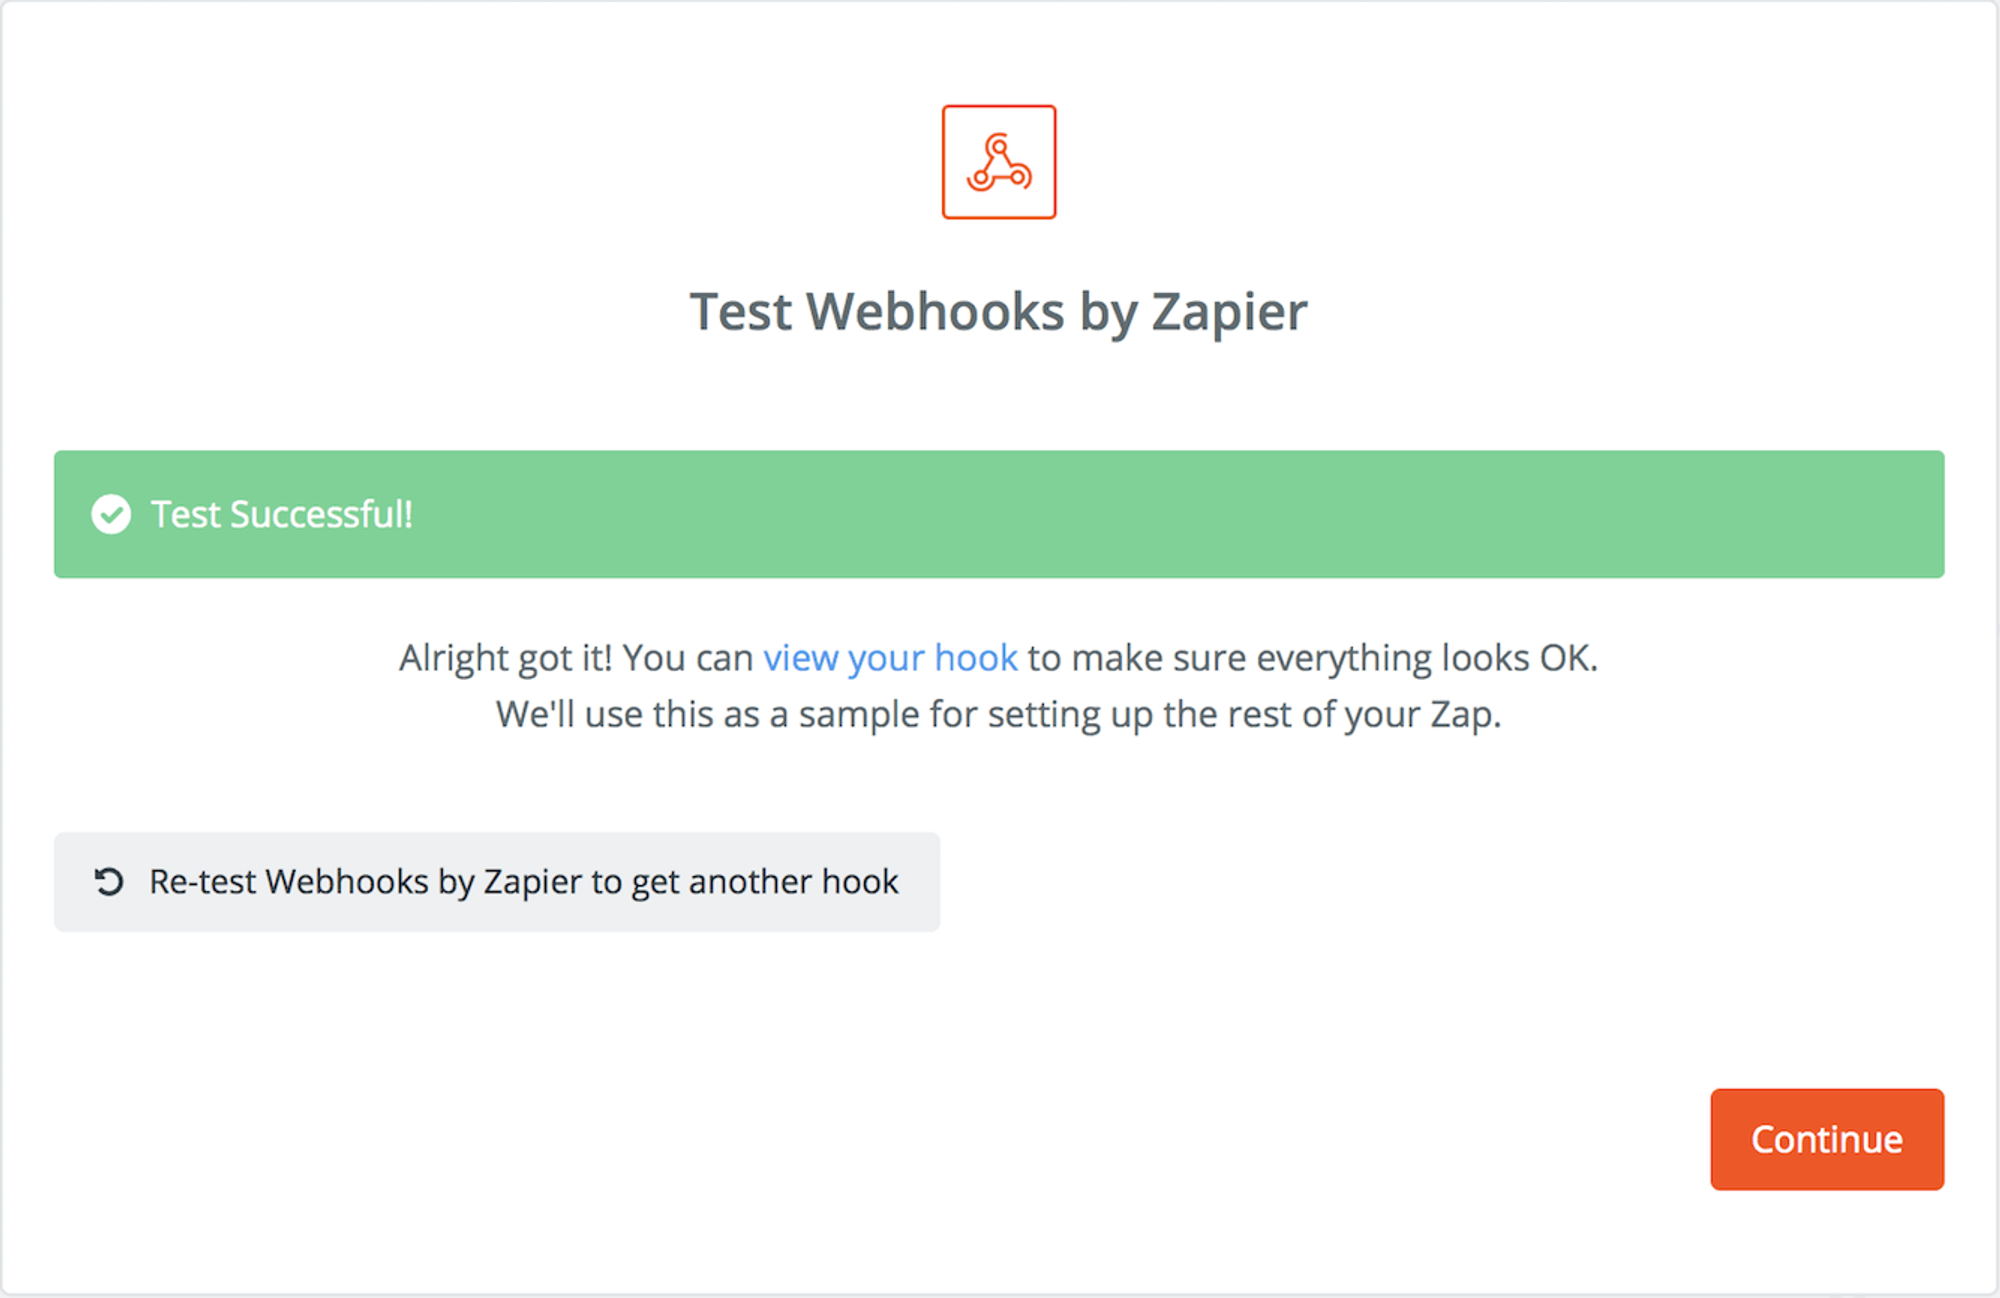
- When Zapier receives the Dash Webhook test call request, you will see the following screen.
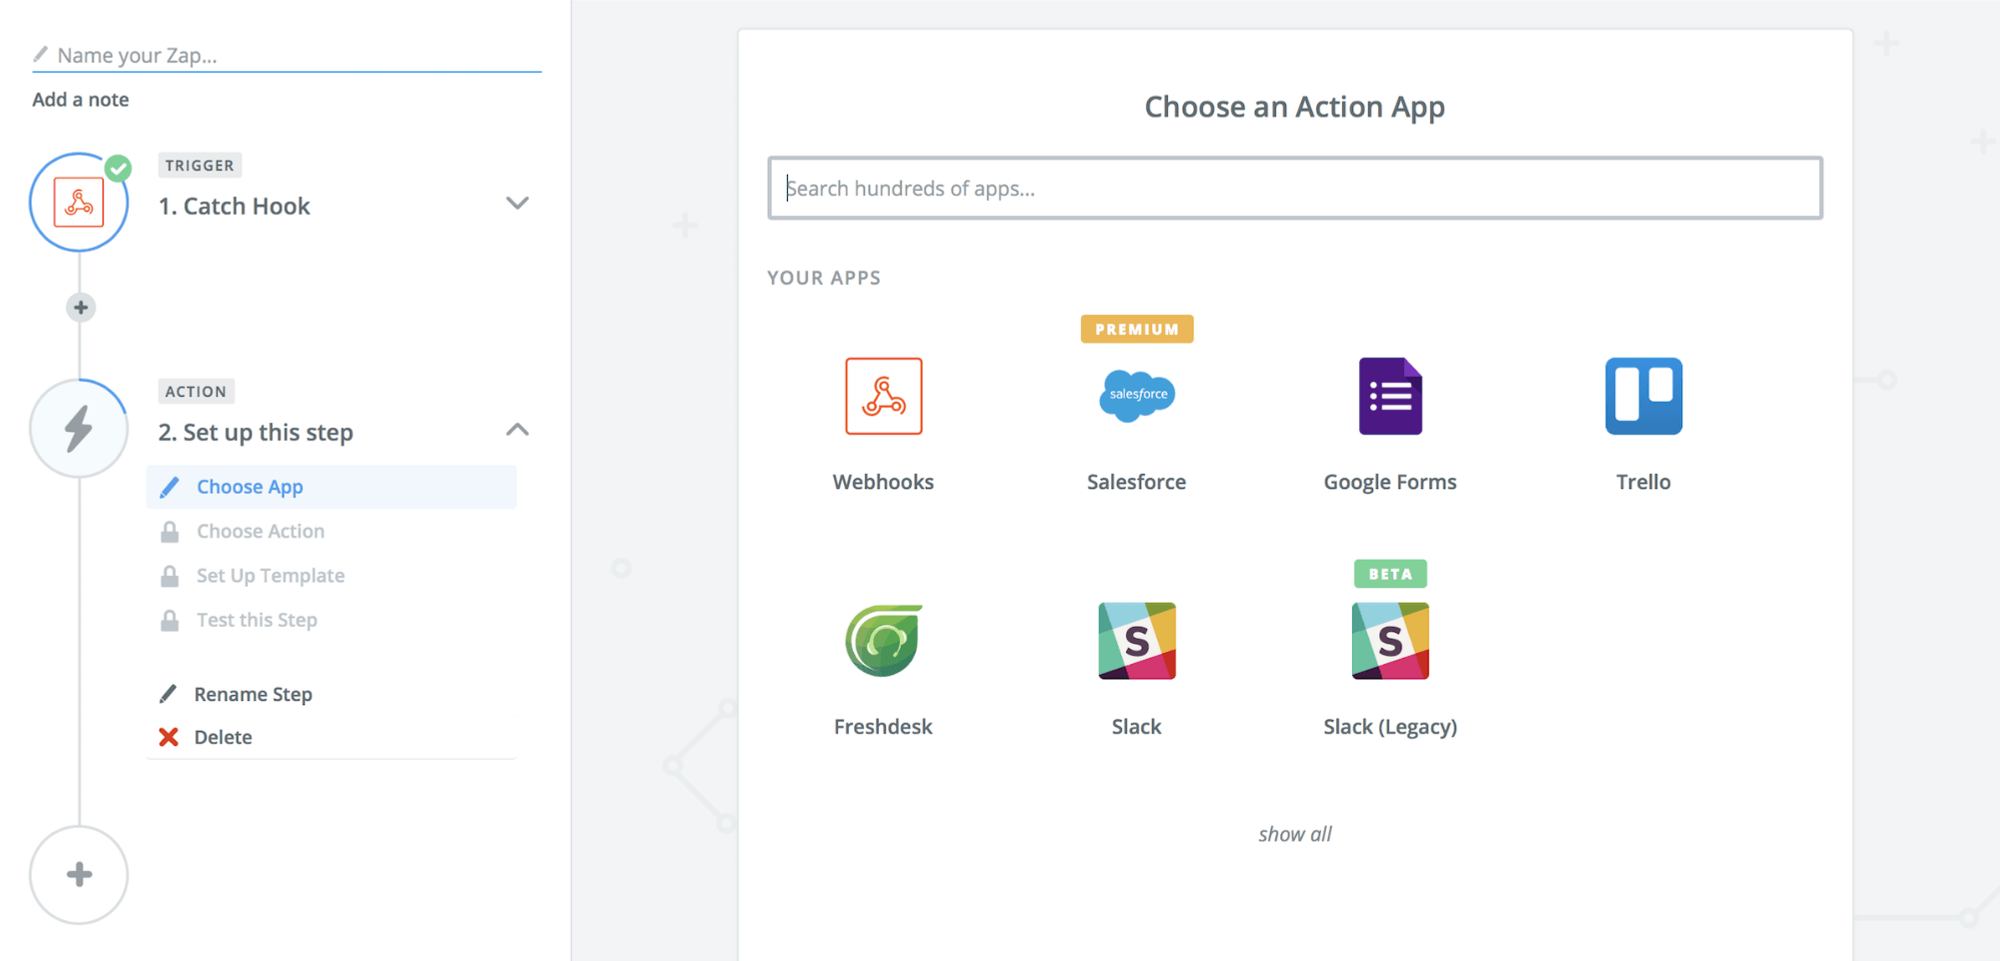
- Finally, you can select whatever service you want Zapier to use to process incoming Dash Webhooks.
Do More with Webhooks
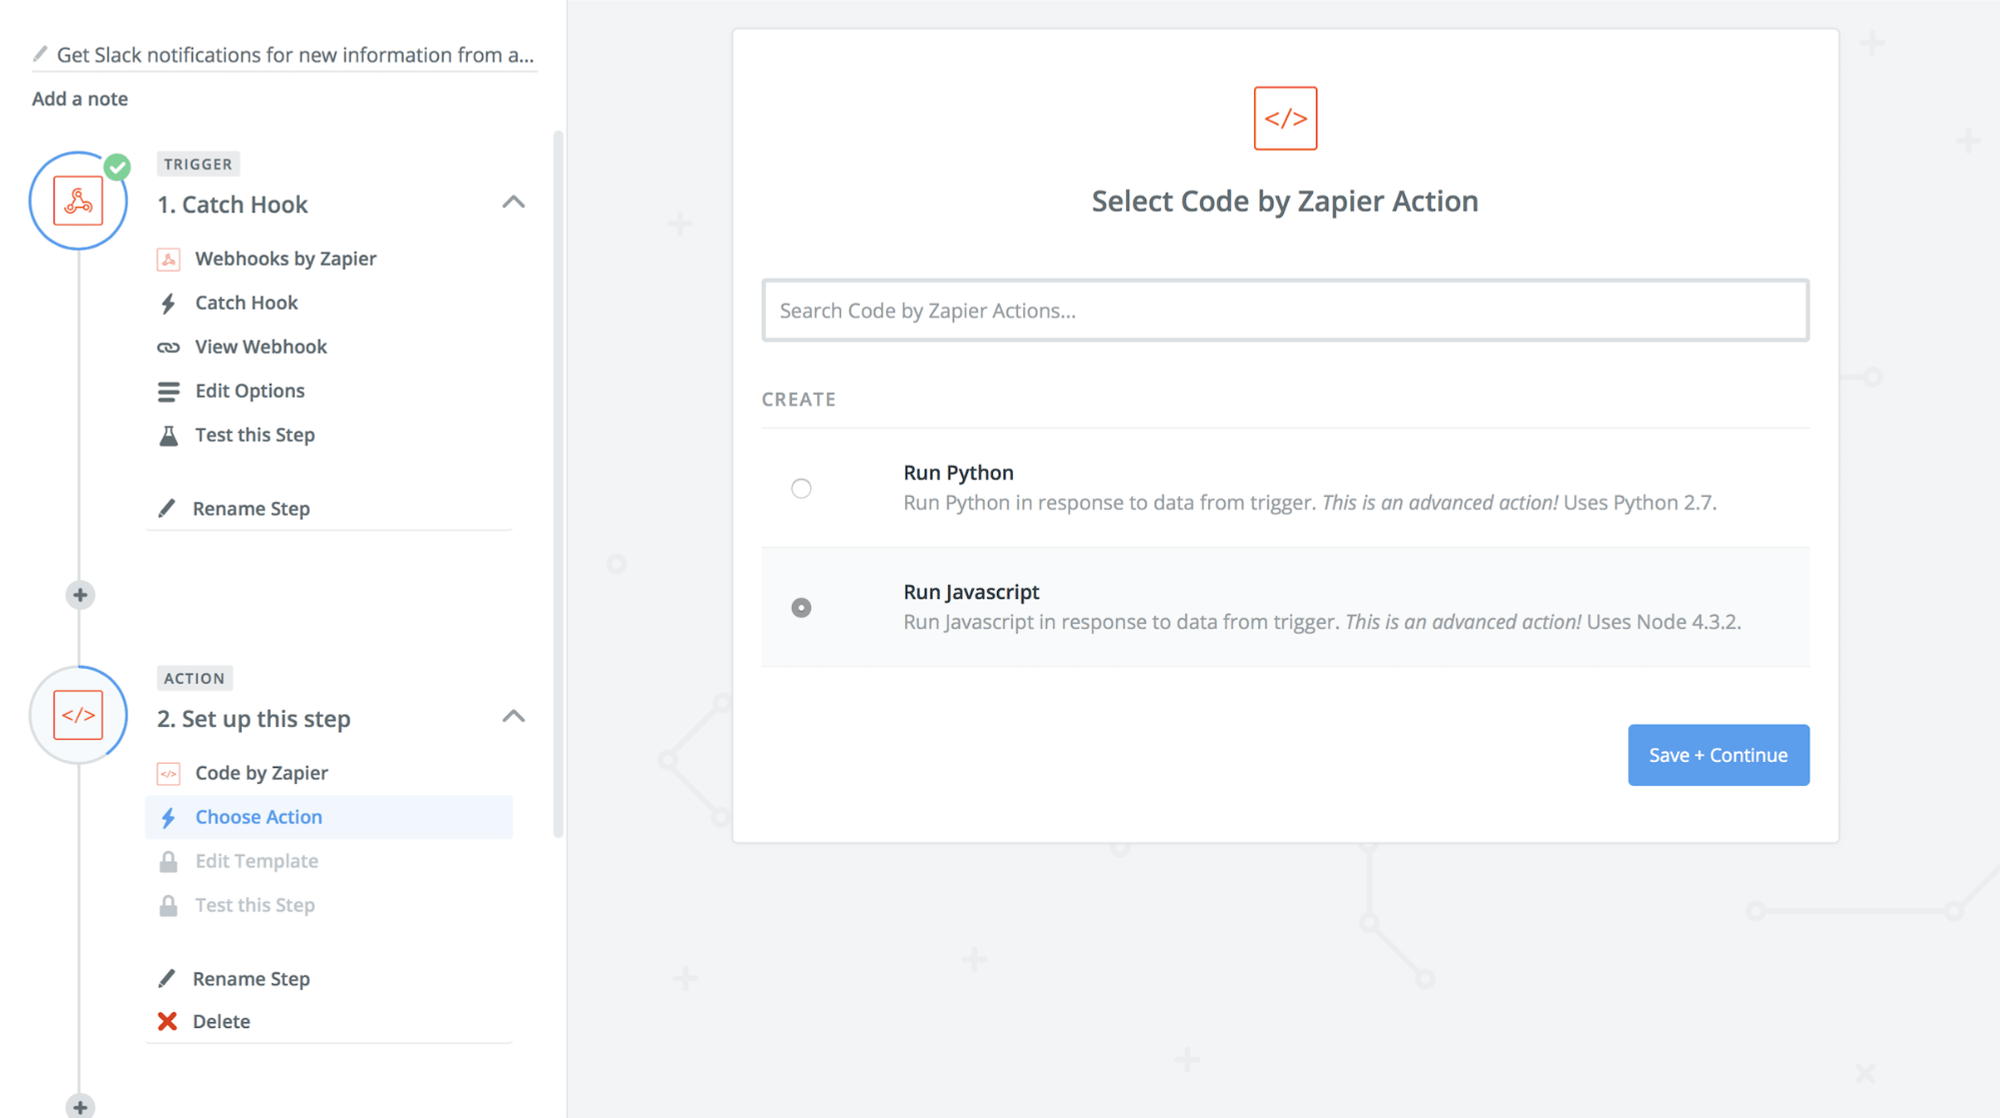
The best part about Webhooks from VirtualPBX Dash business phone systems is the limitless possibilities available. With over 750 connected apps on Zapier and the ability to connect Webhooks directly to any custom system, connecting your call data to your business workflow has never been easier. One of our most common executions is the ability to deliver notifications to a Slack channel whenever an inbound or outbound call reaches your system – we’ve even outlined the steps to set up your Slack notifications with this handy Webhook Example guide.