An ATA adapter is simply a converter box that allows you to use an analog phone via your internet connection. So on one side you plug in the analog phone, on the other is a network cable that will go to your router.

1: Click on Devices for the user in which you’re trying to add the ATA Adapter
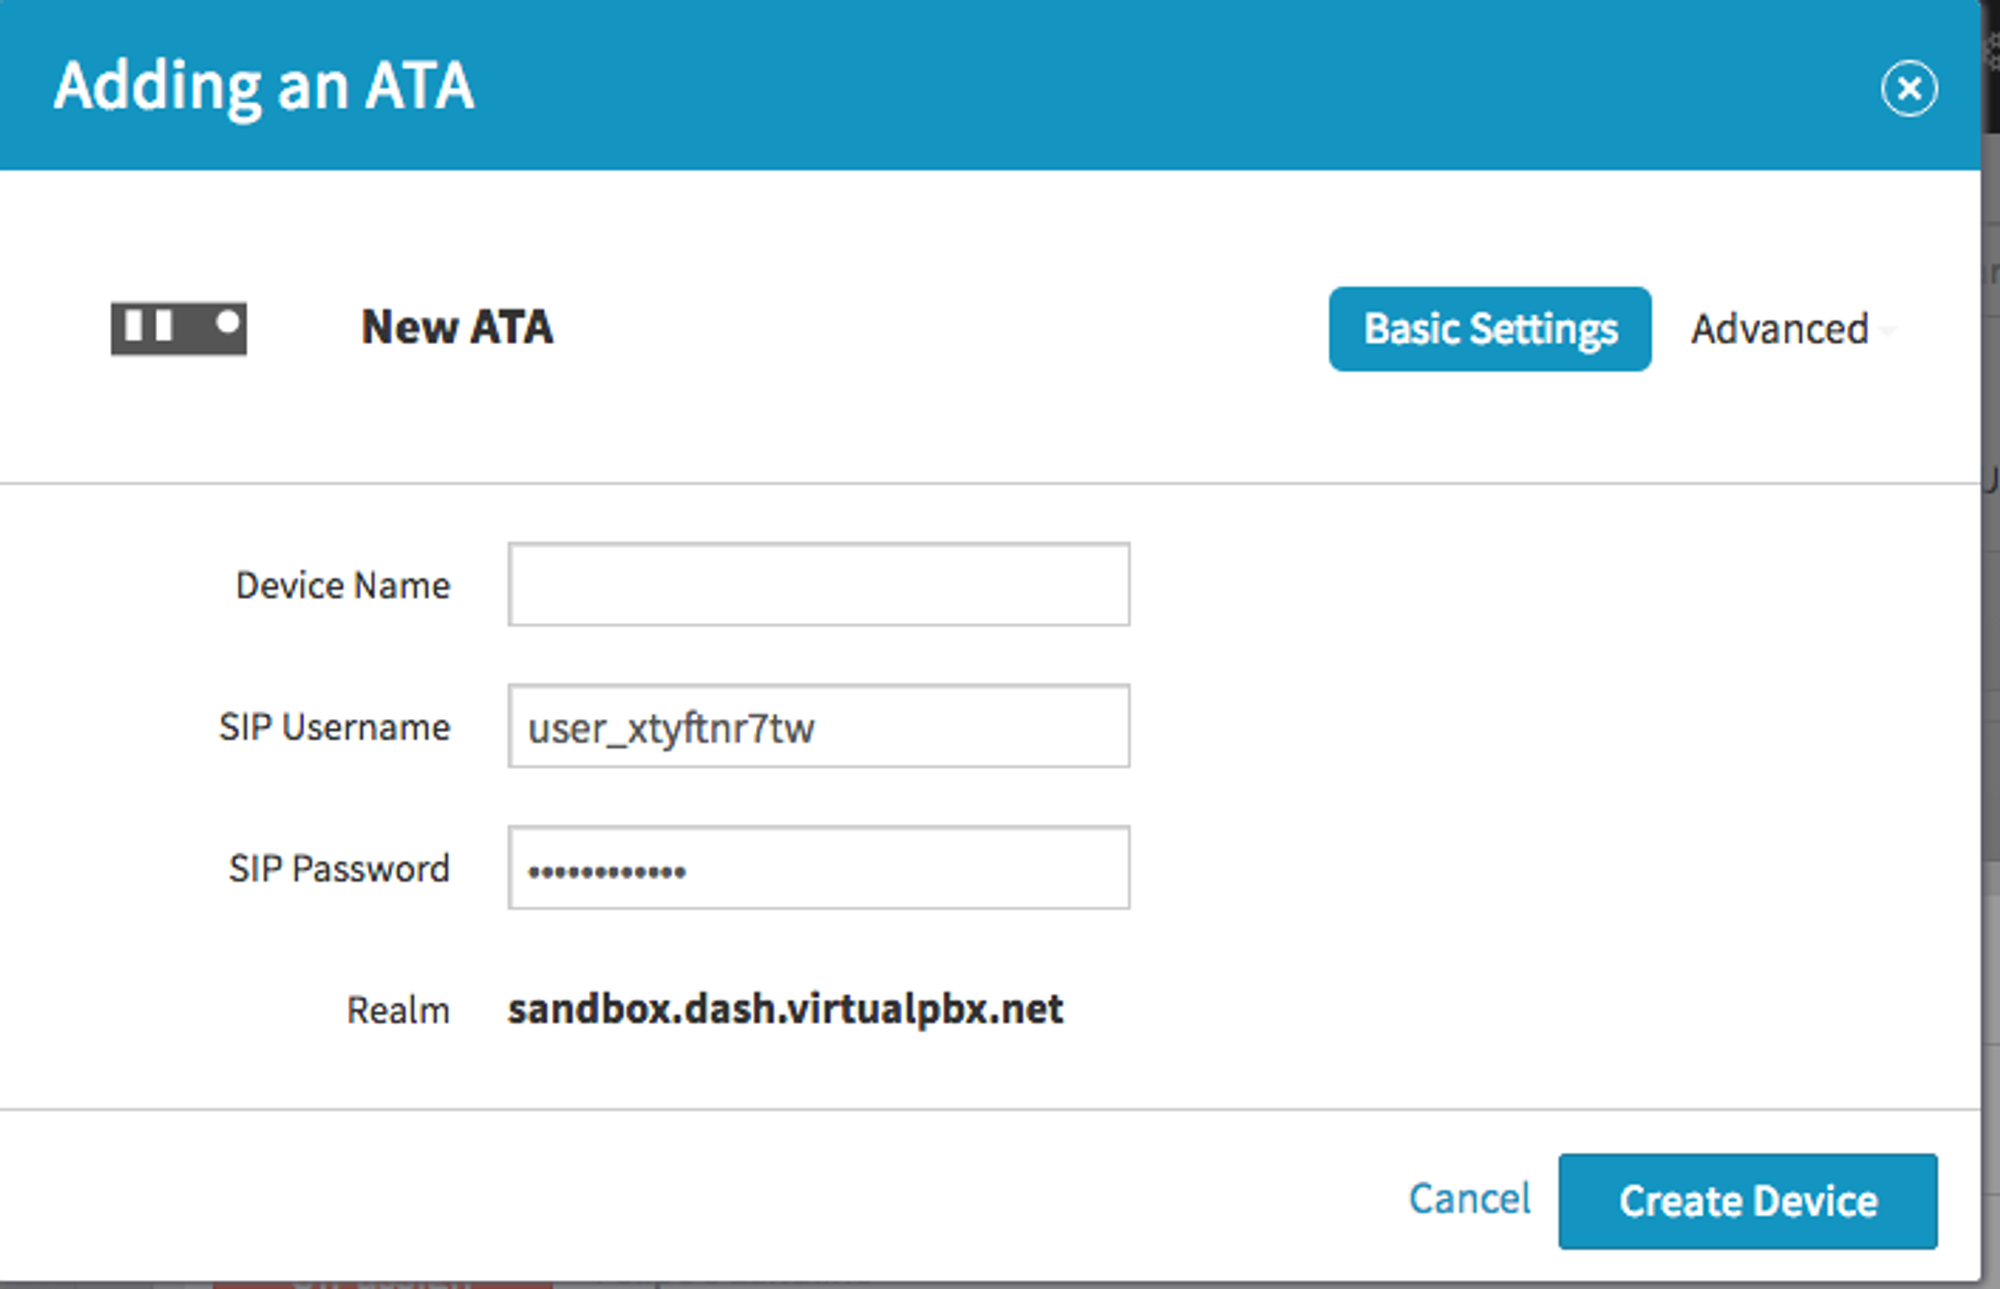
2: Click on New Device
3: Select ATA

Device Name: This is the name of the device that will show up in your Dashboard. It does not affect any part of provisioning or your system functionality.
SIP Username: This is a system-generated username that will be used to input into your ATA device’s web interface. Please avoid changing this item in the Dashboard to avoid complications with provisioning and registration.
SIP username is often entered into fields such as: User ID / Account name / Authentication name or ID / Authorization name / SIP User ID
SIP Password: This is a system-generated username that will be used to input into your ATA device’s web interface. Please avoid changing this item in the Dashboard to avoid complications with provisioning and registration.
SIP Password is often entered into fields such as: Password / account password / authentication password / SIP password
Realm: This is a system-generated string unique to your VirtualPBX account which will be input into your ATA device’s web interface
Realm is often entered into fields such as: Domain / Server / Proxy or Proxy Server / Register server / SIP domain or Server
It is possible that you may need to setup the Outbound Proxy server as well
Outbound Proxy should be set to proxy-west.virtualpbx.net
Mouse over Advanced and you will see your Advanced options. In general these can be adjusted as you see fit or simply left as is.

1: Click on Advanced in the top right, and select “Audio”
2: Move the following options from the left column to the right column in descending order: PCMU / PCMA / OPUS
3: Click on Create Device when done.
