Adding a Web Phone
The video here will walk you through the steps to add a Web Phone to a user on your VirtualPBX account. We have also provided steps and screenshots, for your reference.
The VirtualPBX Web Phone is included free with all four VirtualPBX plans and uses plan minutes. No device fees, no downloads, no updates – a simple web-based phone built on WebRTC technology available in most modern web browsers. Adding a Web Phone to a user in your account can be done using the following steps:

- Start by clicking on Users on the left side
- Click on the user’s Device box
- Click on Add new Device
- Click on Web Phone
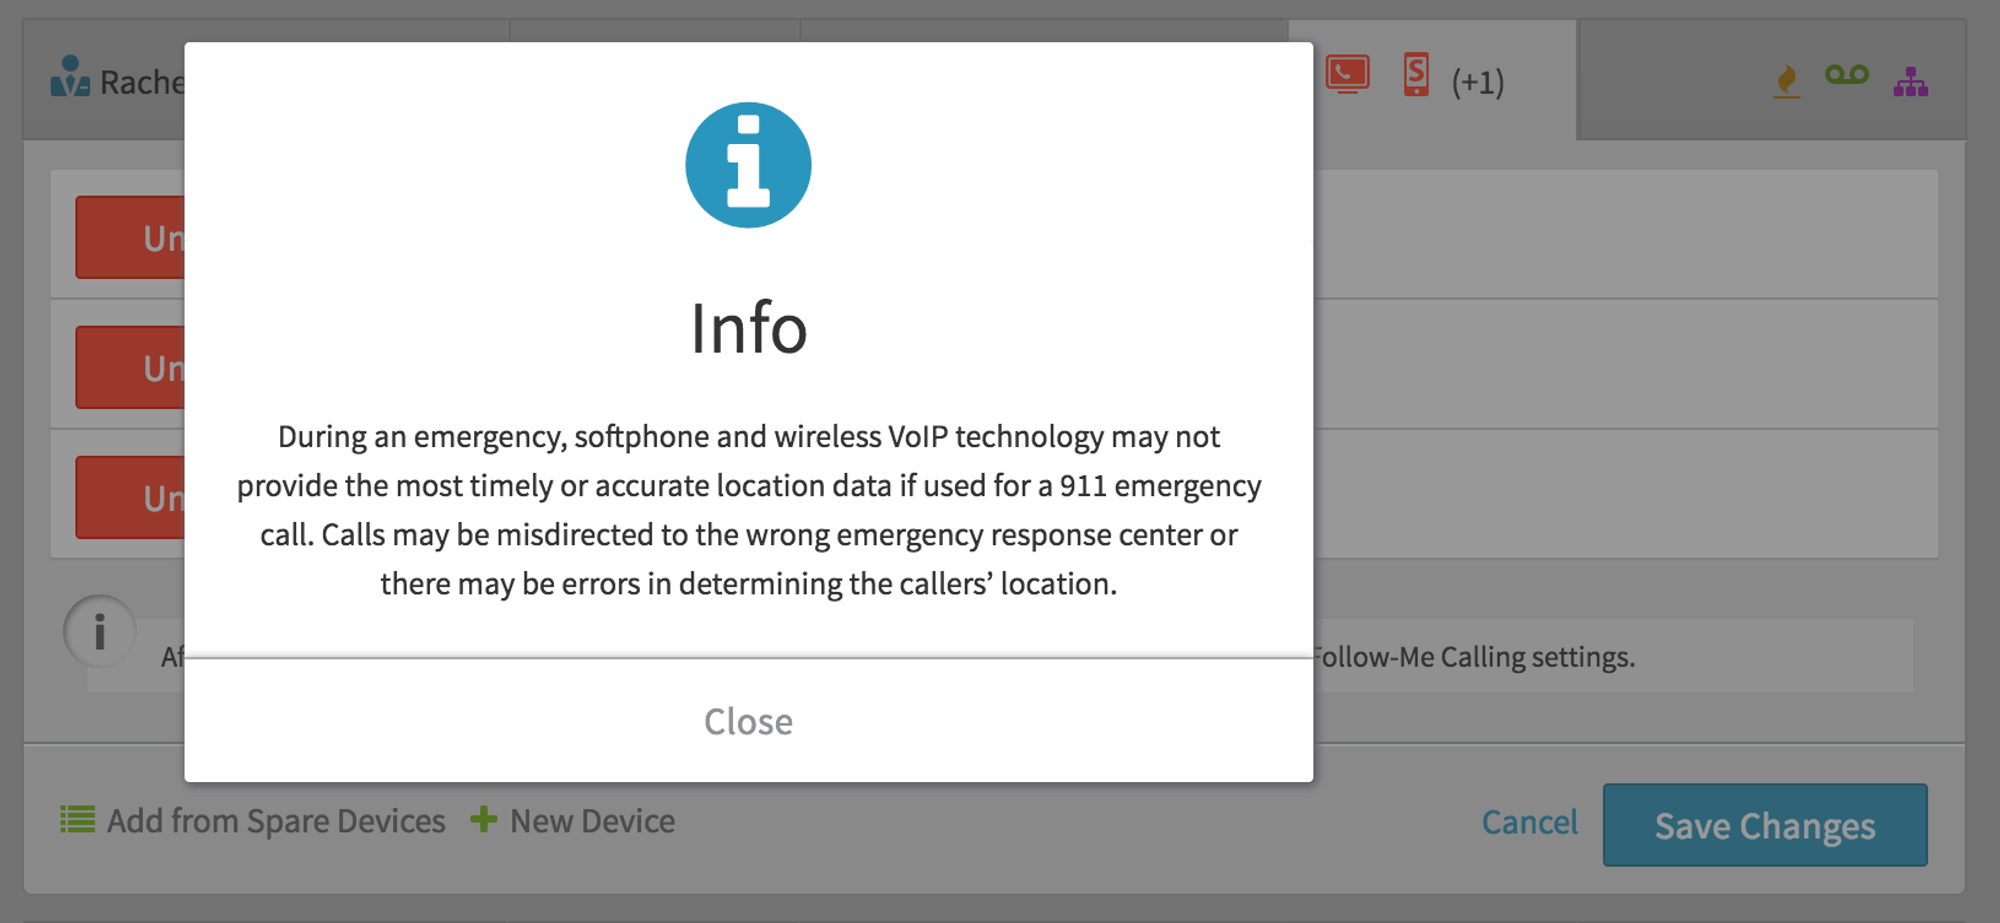
- You will be prompted to read the following information. Due to the mobile nature of a web-based VoIP phone, users may not be at the address claimed under e911 settings when an emergency occurs. We strongly encourage all customers to keep e911 information up to date and when possible, use a phone tied to your physical location during an emergency as emergency services are deployed to the address associated with that phone immediately upon calling. Press Close to continue.

- Name your Web Phone
- Click Create Device when you are finished.

- You will now see this device appear under the user’s devices options. Click Save Changes.

- You may access the Web Phone from the Dashboard, by click on the phone icon near your name at the top right
- You can also access the Web Phone by going directly to https://webphone.virtualpbx.net. with either Chrome or Firefox. Users log in using the same credentials as their Dash user account.
Note: If you are using the Follow Me User feature, make sure to review your Follow Me settings to ensure your new Web Phone will operate as expected.
User Guide
Signing Into the VirtualPBX Web Phone
Enter the same login details that you use for your VirtualPBX Dashboard, if applicable. You can always use the Forgot password? option if you’re unsure of your login credentials.
As you’re signing in, be sure to allow permissions for the Camera, Microphone, and Notifications. These permissions are required for the Web Phone to function properly. If you are not prompted to enable these features, please access your browser’s “Permissions” settings to manually enable them.

Once signed in, you’ll be prompted to select devices for your Microphone, Speaker, and VirtualPBX Device. Select the desired devices from the drop down menus at the bottom of the page. If you’d like, you can choose to “Mute Dialpad” which silences the keypad buttons when making a call.
Select Accept, and you are ready to begin using the VirtualPBX Web Phone!

Making and Taking Calls with the Dial Pad
Use the dial pad on the right-hand side to make calls. You can type in a phone number using your keyboard or the buttons on screen. You can also copy and paste a phone number into the box at the top of the dial pad. Click the green phone icon to place your call.

Inbound calls will ring through the speaker you have set and will display an option to reject (in red on the left) the incoming call, or answer it (in green on the right).

Once on the call, additional options become available on the dial pad.

- Mute - Toggle the mute button on and off to prevent others from hearing you temporarily.
- Disconnect - Use the red disconnect button to hang up the call.
- Hold - Use the pause button to place the call on hold, or to retrieve the call from hold.
- Transfer - Send the call to another extension using the transfer button.
- Blind Transfer - Sends the call directly to the extension you select as a brand new call.
- Warm Transfer - Allows you to speak with the person you’re transferring to before sending the call through to their extension.

Additional Web Phone Features

- Contacts - Allows you to view or search your list of VirtualPBX contacts and call them directly using the blue phone button.
- Voicemail - Access your voicemail history and listen to voicemails for your user directly from the interface.

- Call History - Displays all of your inbound and outbound calls from your latest session and allows you to call that person again using the blue phone button. Additionally, you can search for calls by phone number.

- Caller ID Number (Admin-Restricted Feature) - Selecting a different phone number from the drop-down allows admins to select the caller ID number for their device.

- Queue Status (Plan-Dependent Feature) - Plans that have the VirtualPBX Call Center have the built-in ability to log into the Call Center Queue, as well as change their status between Ready and Away directly within the VirtualPBX Web Phone.